

Wishlists
How to Set up the Main Wishlists Page
Coming soon: Iconic Wishlists is becoming part of Kadence Shop Kit. You may see both names used while we update the product, documentation, and customer experience.
Once you’ve installed Wishlists for WooCommerce, the first thing you’ll want to do is create a page for your customers to view their Wishlists on.
To do this, take the following steps:
- From your WordPress dashboard, go to Pages > Add New.
- Enter a title for the page, e.g. “Wishlists”.
- In the editor, enter the wishlists shortcode:
[iconic_ww_wishlists].
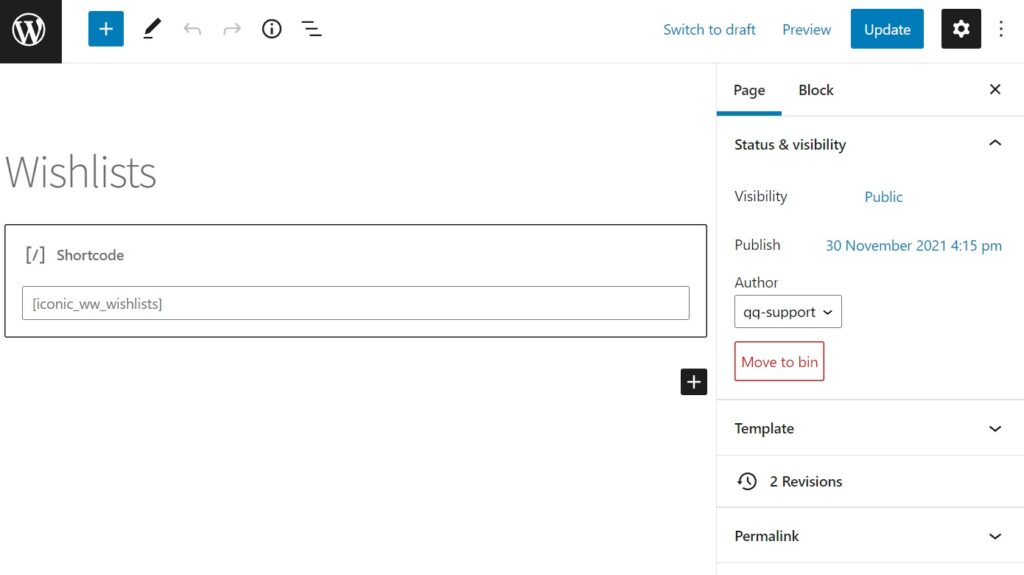
- Click Publish or Update to create the page.
- Now the page has been created, from your WordPress dashboard, go to Wishlists > Settings.
- Click the General tab.
- Select the page you just created from the Wishlist Page dropdown.
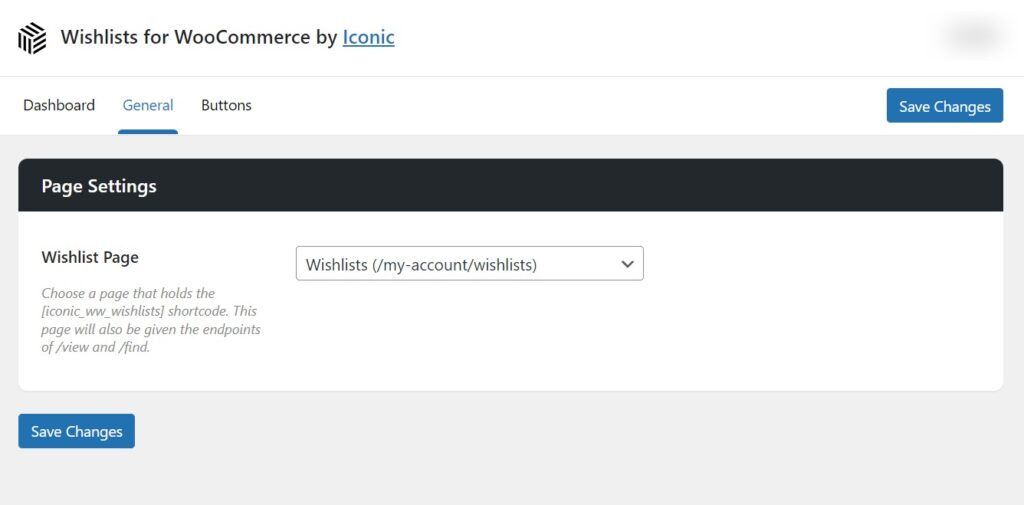
- Click Save Changes.
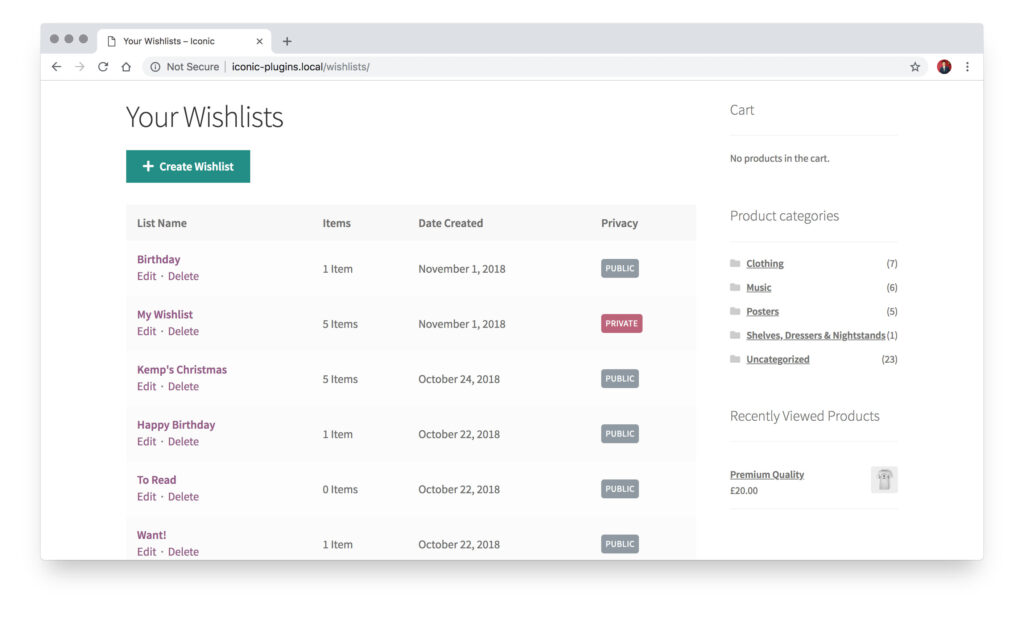
Now when you visit the page you created on the front end of your website you should see something similar to this:

When the user has added some wishlists, the same page will look like this:
Filed under
Uncategorized
Was this page helpful?
Thanks for the feedback!