

Manage Your Cloud Sites Account
Your Cloud Sites control panel gives you access to your billing, account information, domains and DNS management controls are found in your Liquid Web account. From here you can pay your bill, change payment and account information, and so much more. Just use the drop-down menus available at the top of the page. This article will walk you through each menu and what you can find there. First, you will need to log into your Cloud Sites account.
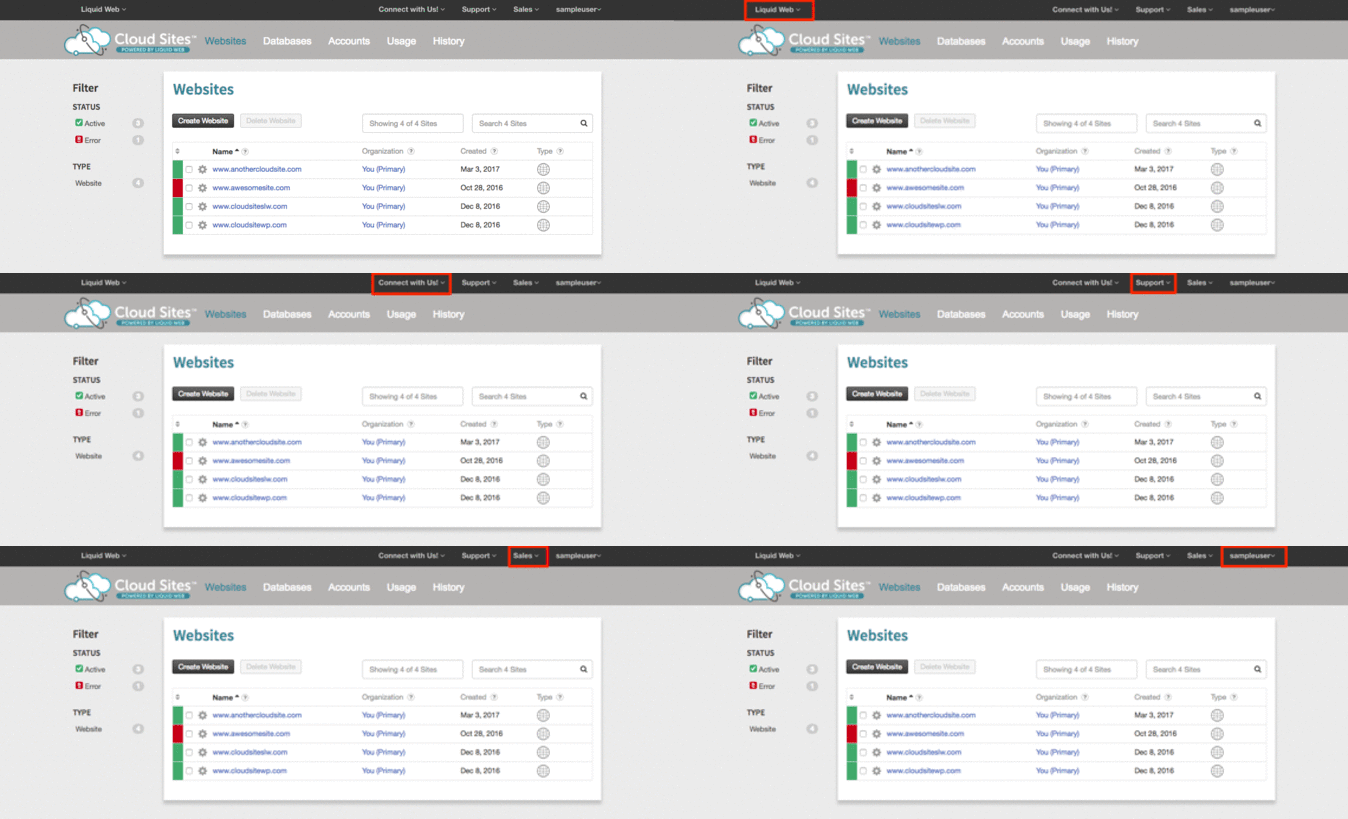
Liquid Web Account
Your Liquid Web account provides you with tools to manage your billing preferences, domains, DNS, and contact our Support team. Our article Navigating Your Liquid Web Account will give you a walk-through of what you can manage from your account.
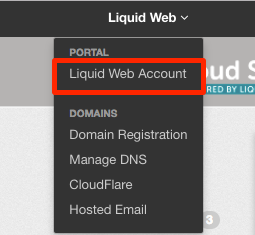
Domain Registration
Manage the domains you have in your Cloud Sites control panel from the Domain Registration link. You can add domains from registrars outside of Liquid Web or register a new domain to your account in this section. See our article Registering a Domain Name (Main URL) for step-by-step instructions.
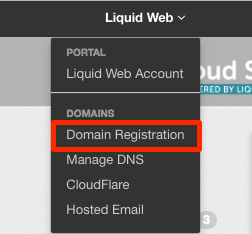
Manage DNS
Easily manage all your DNS needs with one simple click on the Manage DNS link the Liquid Web menu from your control panel. For information on how to manage your DNS, see our article Managing Your DNS with Cloud Sites.
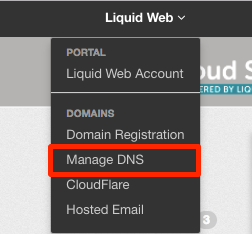
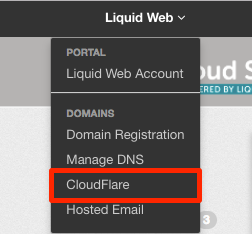
Cloudflare
Optimize your websites by using Cloudflare, a global content delivery network designed to optimize the delivery of your webpages for the fastest page load times and best performance. In addition to faster load times, you are also protected from threats and abusive bots and crawlers that can waste your bandwidth and resources. For more information on Cloudflare, see our article Adding Cloudflare to Your Website.
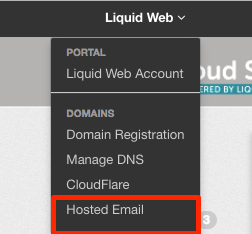
Hosted Email
This link is for our legacy Rackspace customers who have email. If you want to see your options for hosted email, check out Premium Business Email.
Connect with Us
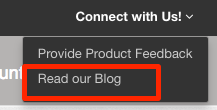
We want you to give us feedback as well as check out our blog for new features and upcoming events.
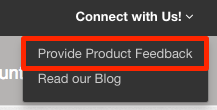
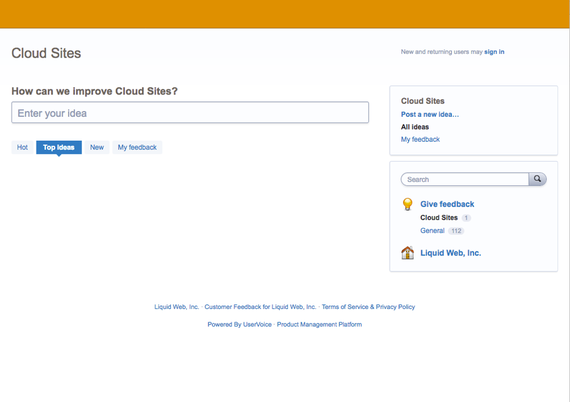
Provide Feedback
Liquid Web loves getting feedback on features to add and ways to make our products work better for our customers. Clicking this link will take you to our feedback forum where you can suggest updates and features that would make our products work better for you.
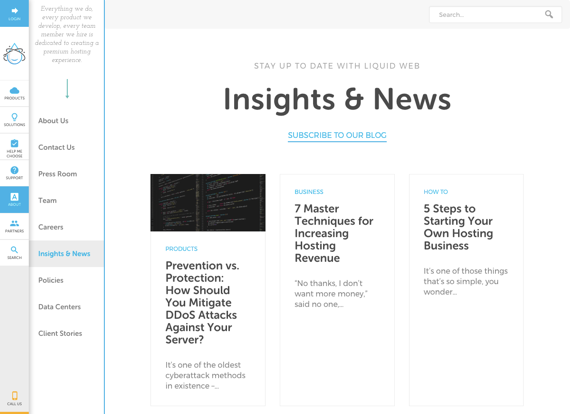
Read Our Blog
Take a look at what’s going on with Liquid Web and find helpful tips and tricks to manage your sites in our blog
Support
Log into your account to reach out to our Support team for help as needed. See your open support cases, or create a new one.
Live Chat
Chat with an admin real time and get solutions to your issues quickly.
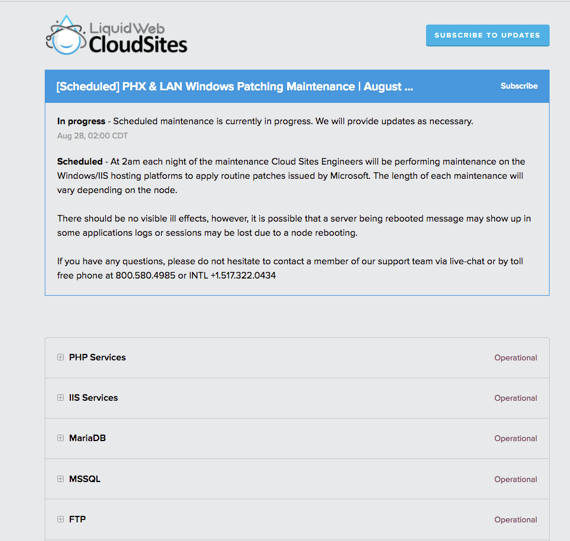
Liquid Web Status
Found under the Support menu, you can check the real-time status of all Cloud Sites services. You can also subscribe to updates so that you never have to be left in the dark wondering if there are any issues affecting your site’s performance.
Sales
Contact our dedicated Cloud Sites Business Development Consultants! We are more than happy to show you how Cloud Sites can help solve your hosting needs.
Billing Account Management
For billing account management, click on your username at the upper right-hand corner of the Cloud Sites control panel. A drop-down menu will appear with links to your account.
Billing and Payments
When you click on Billing and Payments, you will be directed to the Billing section of your Liquid Web account. For information on billing, see our article Viewing Your Billing Information.
Account Settings
Clicking on Account Settings will take you to your Liquid Web account to manage your profile and contact preferences. To find out more about this section of your account, see our article Updating Your Profile.
Logging Out
To log out of your Cloud Sites control panel, click the Logout button in the drop-down menu.
Now that you know how to navigate your account settings, let’s take a look at Adding a Website to Cloud Sites.