

Manage Client Accounts in Cloud Sites
Once you’ve created a client account, you can make changes to your client information as needed. This article will walk you through common changes you might make to your client accounts:
- Suspending and activating client accounts
- Changing a client account password
- Changing an organization name
- Creating a new organizational contact
- Changing client information
- Creating a website
Before you start editing your client accounts, use the Cloud Sites control panel to navigate to the account you want to edit.
- Log into your Cloud Sites account.
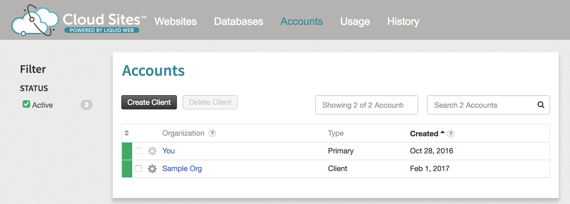
- In the top navigation, click on Accounts. You’ll see a list of all the client accounts you’ve created. Click on the account you want to edit.
Suspending and Activating Client Accounts
You can suspend and activate a client’s websites immediately as necessary.
- In the Account Details section, click the
 icon next to Status.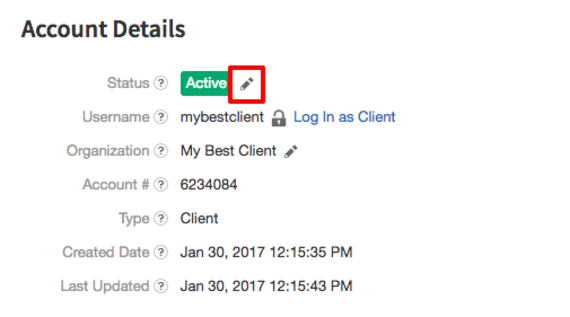
- Use the radio buttons to select Suspended to suspend the account or Active to unsuspend the account.
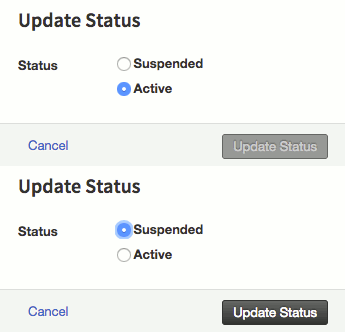
- Click Update Status.
Note: |
| Upon activation, client(s) will access their respective portals at the following URL: www.websitesettings.com |
Changing a Client Account Password
- In the Account Details section, click the
 icon next to Username.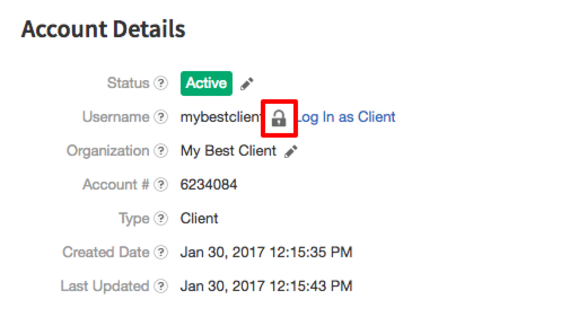
- Enter and confirm a new password.
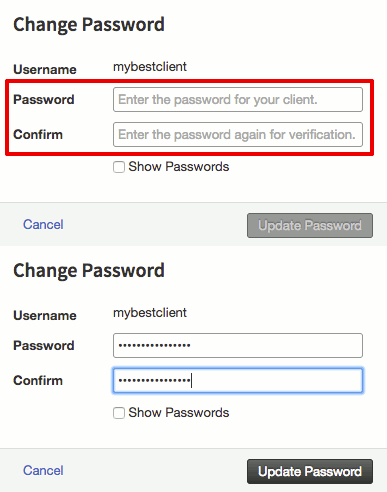
- Click Update Password.
Changing an Organization Name
- In the Account Details section, click the
 icon next to Organization.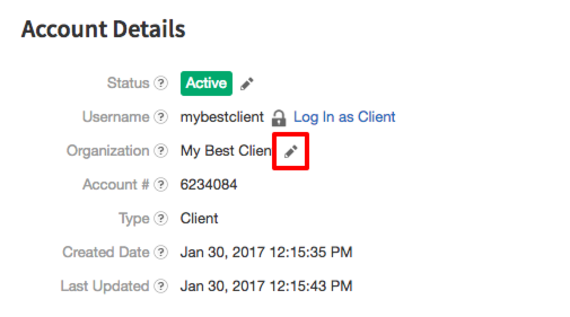
- Enter a new organization name.
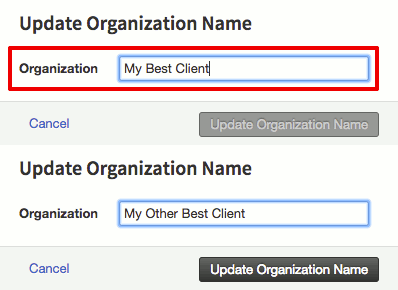
- Click Update Organization Name.
Creating a New Organizational Contact
- Click on Contacts to expand the Contacts section.
- Click on Create Contact.
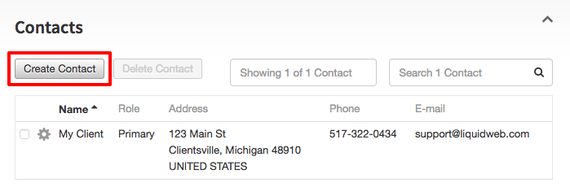
- Select the Type of contact using the dropdown menu. The available types are:
- Technical
- Administrative
- Billing
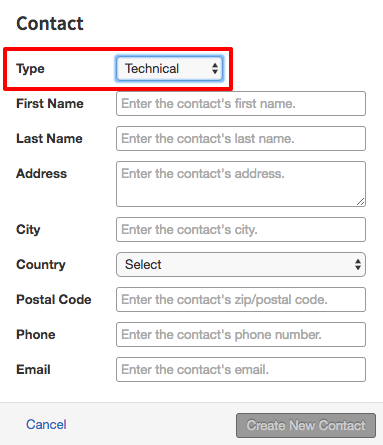
- Enter the necessary contact information.
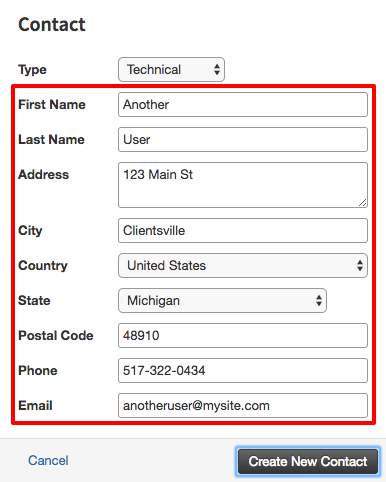
- Once you’ve entered your client’s contact information, click Create New Contact.
Changing Client Information
- Click on Contacts to expand the Contacts section.
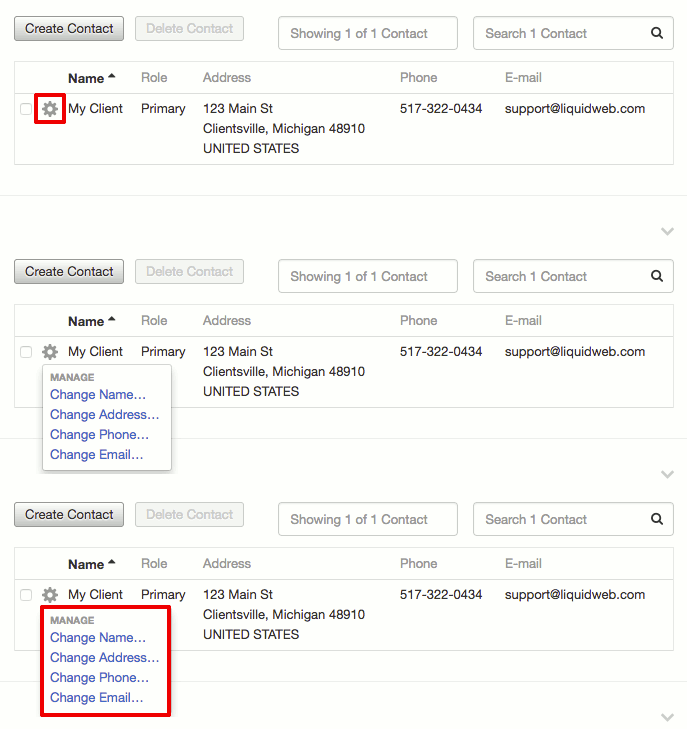
- Click the
 icon next to the client name and click the information you want to change. These options are:
- Change Name
- Change Address
- Change Phone
- Change Email
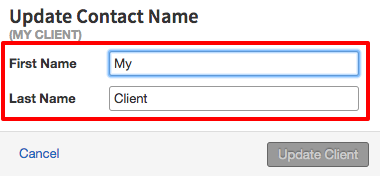
- Fill out the fields with the updated client information. Then, click Update Client.
Creating a Website
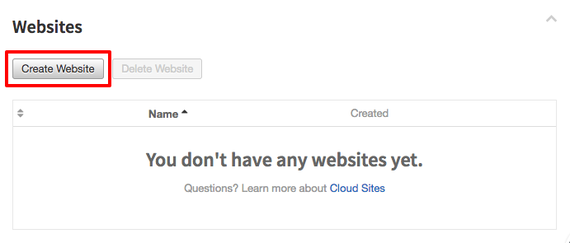
- Click on Websites to expand the Websites section.
- Click Create Website.
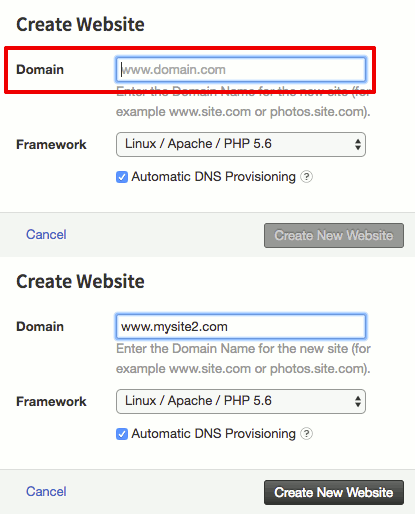
- Enter a Domain name.
- If you want to immediately install WordPress, use the Application dropdown menu to select WordPress. Then, use the dropdown menu to choose a Framework for your website.
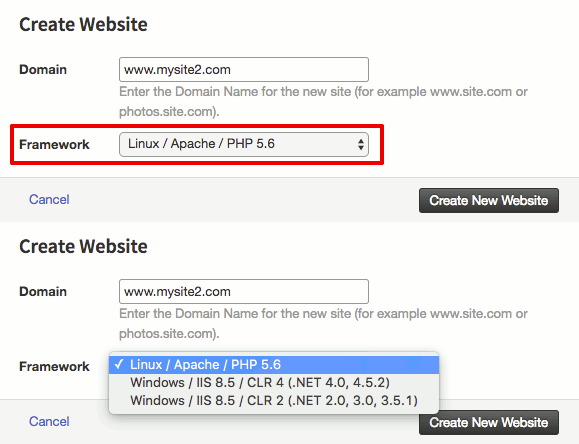
- Click Create New Website.