Kadence Theme
Kadence Custom Fonts
The Kadence Custom Fonts plugin allows you to upload custom web font files (.woff, .woff2) directly to your website or import your Adobe Typekit (Adobe Fonts) web projects into WordPress.
Kadence includes native support for Google Fonts within the free Kadence Theme and free Kadence Blocks. Kadence Custom Fonts is designed for custom, self-hosted, or commercial brand typefaces not available in the Google Fonts library.
Licensing Kadence Custom Fonts
Liquid Web Software manages your licensing through the Liquid Web Portal. For full instructions on downloading, installing, and licensing your product, see the official How to Activate a Unified License document.
Upload Your Font
To upload self-hosted fonts to your site:
- Go to Dashboard → Appearance → Kadence → Custom Fonts.
- Click the Add A New Custom Font button.
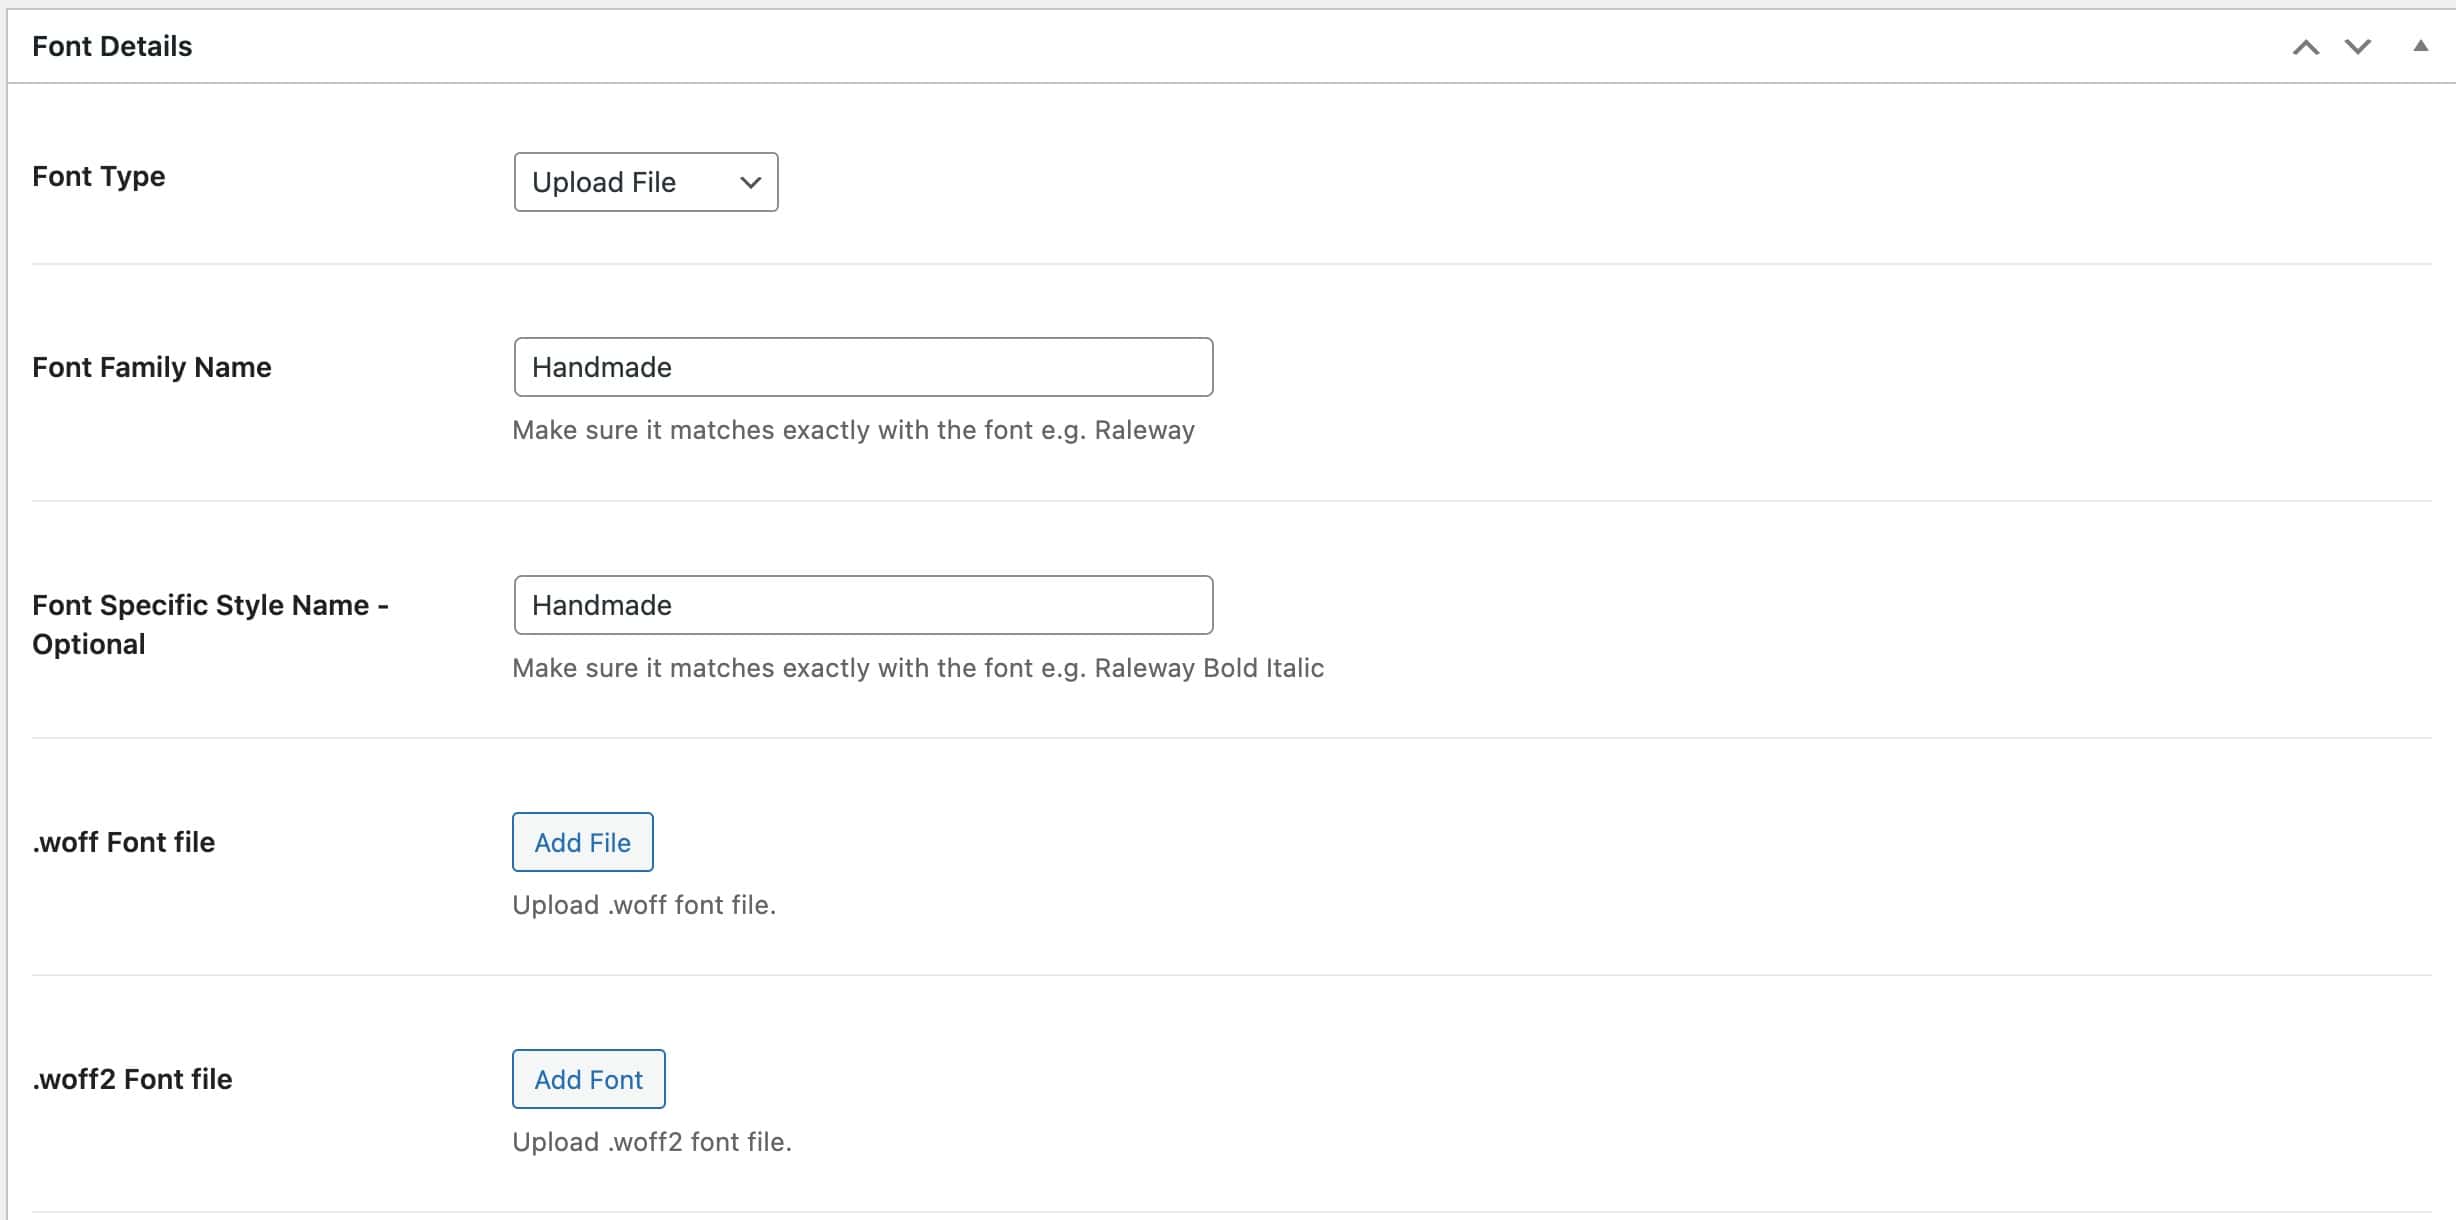
- Configure the font settings:
- Font Type: Select Upload File.
- Font Family Name: Enter the display name for your font family.
- Font Specific Style Name (Optional): Leave blank unless you need a specific CSS style identifier.
- Add Files: Upload your
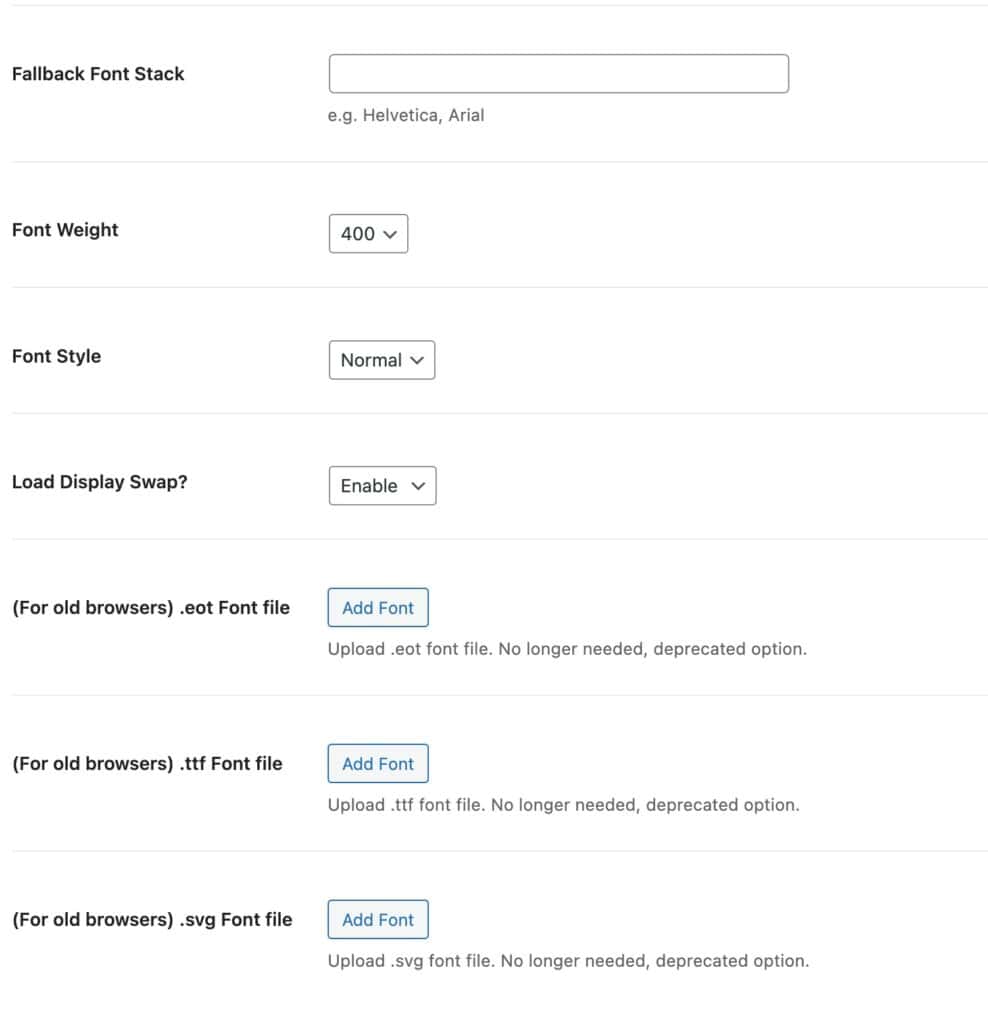
.woff2and.wofffont files (modern web standards). You can optionally upload.ttf,.eot, or.svgformats for legacy browser fallbacks. - Fallback Font Stack: Specify fallback system fonts separated by commas (e.g.,
Arial, sans-serif). Wrap font names with spaces in quotes (e.g.,'Source Serif 4', serif). - Font Weight: Select the specific weight (e.g., 400 for regular, 700 for bold).
- Font Style: Choose between Normal or Italic.
- Load Display Swap?: Enable this setting to apply
font-display: swap, ensuring text remains visible with fallback fonts while your custom font loads.
- Once you publish your new font, it will be available in your Kadence theme and block settings.
Note on Variable Fonts: If you upload variable font files, they will be handled as static fonts. You must select a single weight when uploading. To make multiple weights available, upload separate entries for each required weight.
Adobe TypeKit Fonts
To use Adobe Fonts, you must have an active Adobe Creative Cloud subscription (see Adobe Creative Cloud) with an active Web Project:
- Go to Dashboard → Appearance → Kadence → Custom Fonts and click Add New Custom Font.
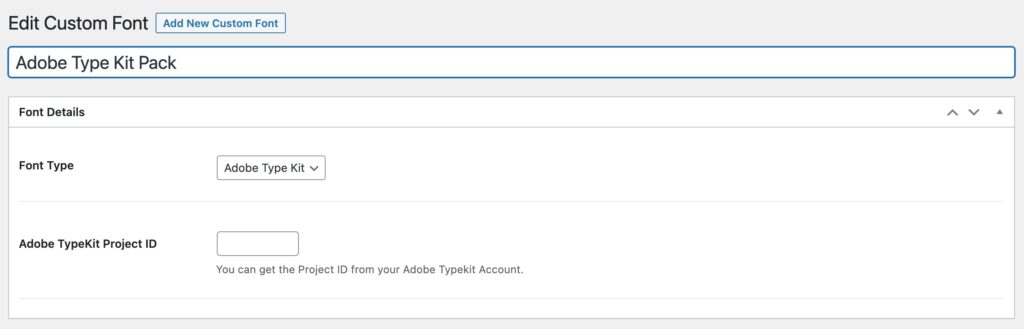
- Set Font Type to Adobe Type Kit.
- In the Project ID field, enter your Adobe Web Project ID.
- Where to find your Project ID: Log in to Adobe Fonts, go to Manage Fonts → Web Projects, and locate your project. Your Project ID is displayed along the top next to the project title.
- Click Publish.
Your Adobe Web Fonts can now be used in your Kadence theme and block settings.
Note on Adobe Variable Fonts: Variable fonts imported from Adobe Typekit are treated as static instances. Only standard weights and basic styles (regular, bold, italic) defined in your project are imported; additional axes like width or slant are not currently supported.
East Asian or CJK (Chinese, Japanese, Korean) TypeKit fonts
If you are using Custom Fonts for Chinese, Japanese, or Korean (CJK) languages, you may find that the fonts do not display correctly on your site. This is often because CJK fonts require a specific language-related script to render properly.
Currently, the Kadence Custom Fonts plugin does not automatically add this script. To ensure your CJK fonts work as expected, you will need to add the following script to your site.
In your Adobe Fonts project, there is an additional script to add for your CJK fonts:

How to Add the Required CJK Script
First, copy the script from your Adobe Fonts account.
Add this script using the Kadence Theme Kit Pro’s Custom Scripts feature. Add it to the “Add scripts into your footer” option.
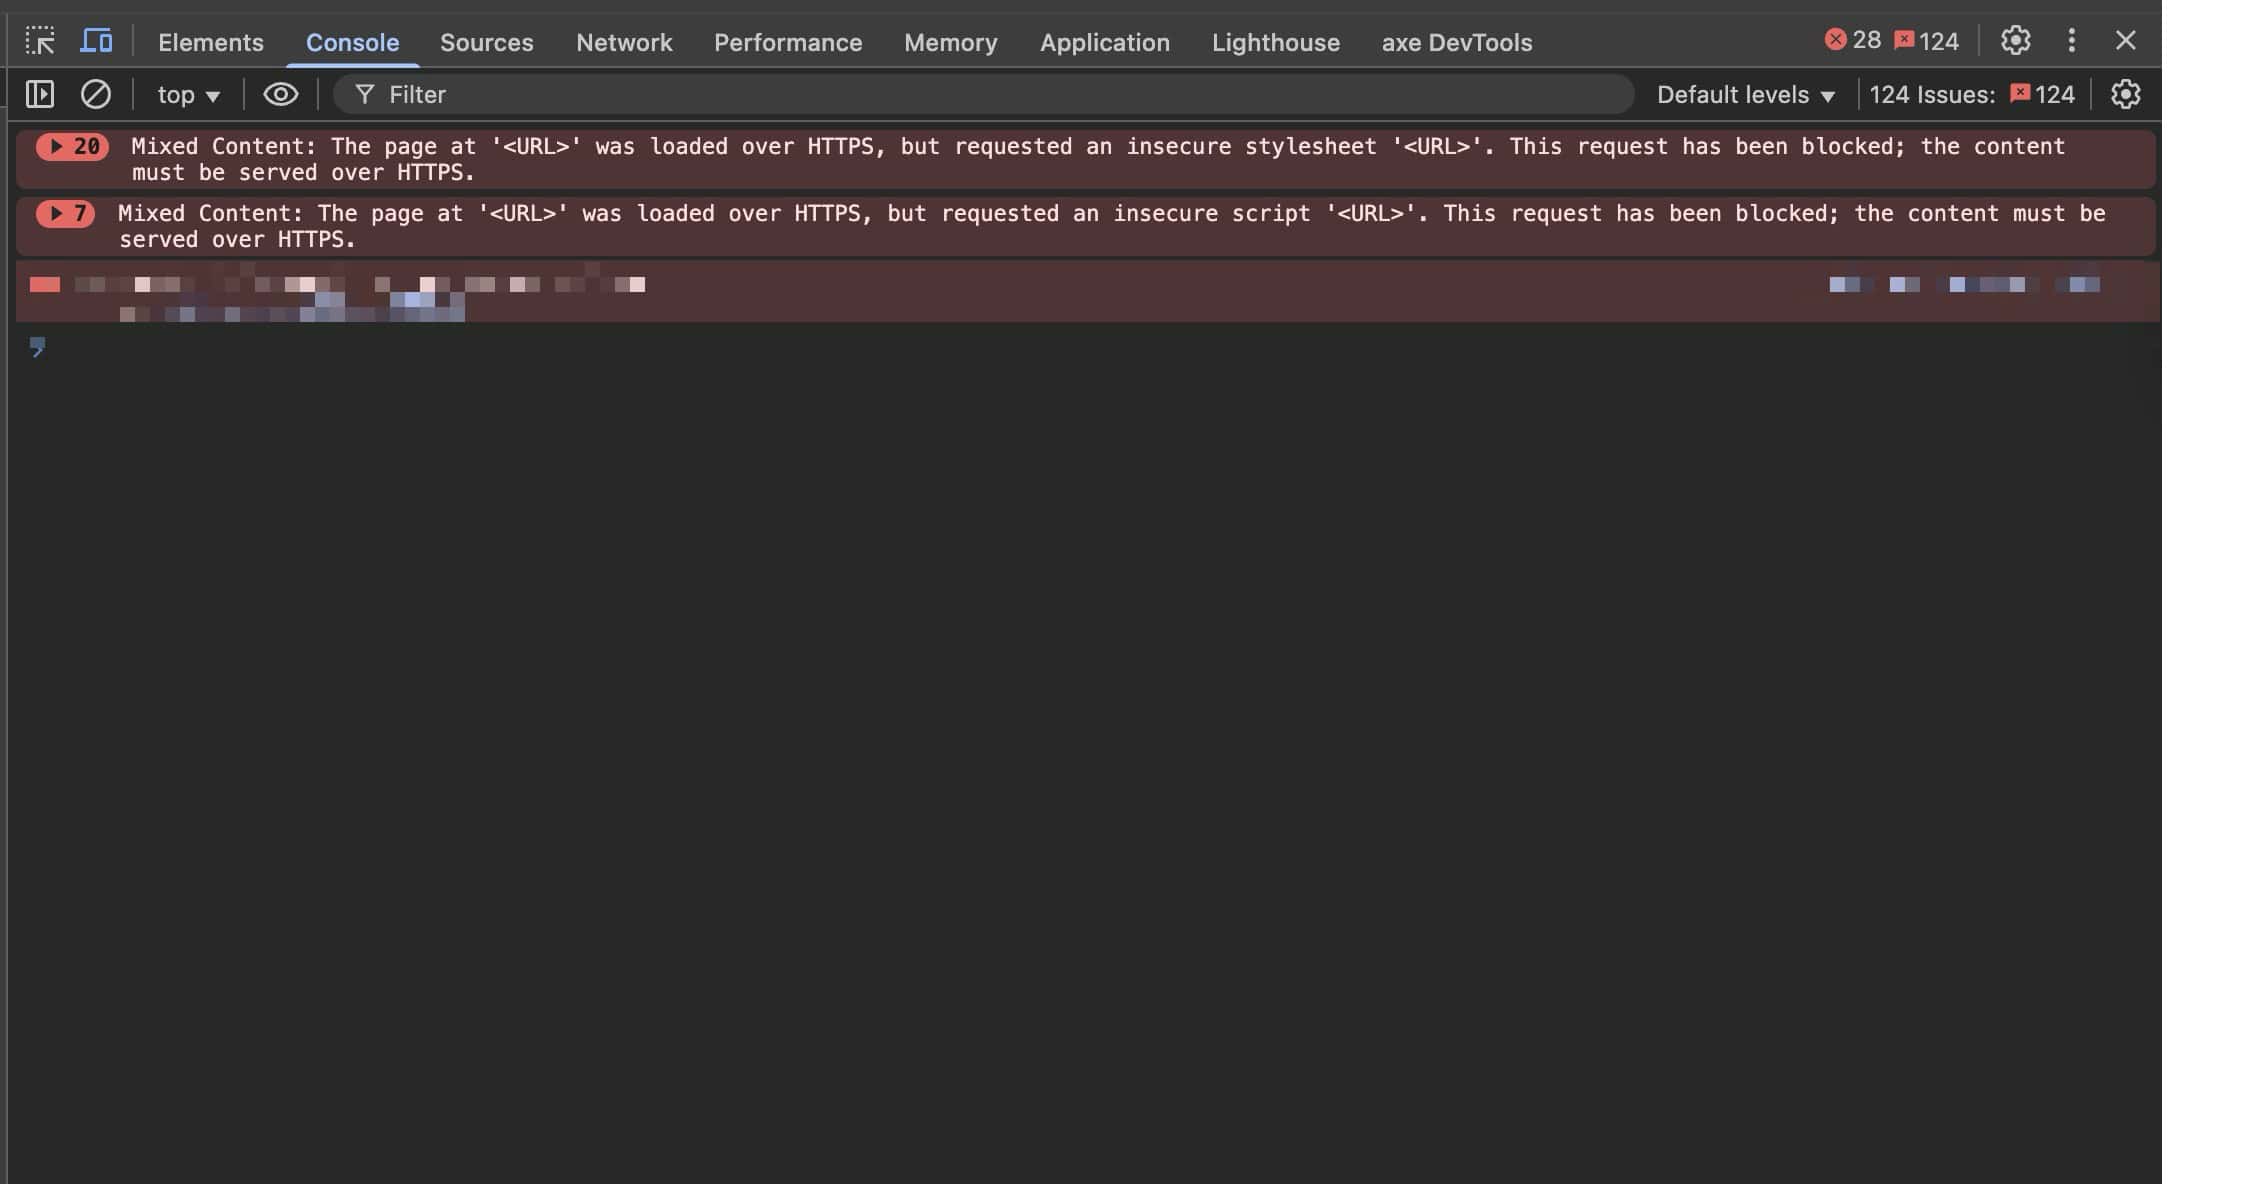
Fixing Mixed Content Errors
In rare cases, you may run into Mixed Content Errors. If you run into a mixed-content-related error, refer to the Fixing Mixed Content Errors in WordPress document.