Solid Backups
Getting Started with Kadence Backups
Coming soon: Solid Backups is becoming Kadence Backups. You may see both names used while we update the product, documentation, and customer experience.
Introduction to Kadence Backups
Kadence Backups (formerly Solid Backups — NextGen) is a cloud-based system for backing up WordPress sites, managing stored backups, and restoring to a previous state. Because Backups uses Kadence infrastructure rather than heavy processing on your host, it delivers fast, reliable backups without slowing your site.
This guide covers getting started, essentials, and common questions. By the end, you should know how to:
- Connect a WordPress site to Kadence Backups — NextGen
- Confirm backups are running
- Download a backup archive
- Restore from a backup
For server setup details (WP-CLI, keys, allowlists) and host-specific credential walkthroughs, see the linked guides in Before You Begin and Step 3.
Need help? Liquid Web Software Support can assist via your Software Portal support channels.
Before You Begin: System Requirements
Your WordPress install and hosting environment must meet these requirements before Kadence Backups can connect and run backups.
WordPress Install Requirements:
- Connection to Kadence Central: The site must be connected to the Kadence Central dashboard. This is the first setup step.
- WordPress Application Passwords: Your website must have Application Passwords enabled, as Kadence Central uses this secure method to connect to your site without needing your main account password. Standard WordPress installations include this feature.
- Note: Security plugins can disable this feature. See What is an Application Password? and Tips for troubleshooting Kadence Central.
Server & Hosting Environment Requirements
- SSH Access: Your server user must have SSH (Secure Shell) access to your hosting server, as this is the secure protocol that Kadence Backups uses to connect to your server, run commands, and transfer files. You will need your SSH credentials (server address, username, port number) during setup. To learn how to get SSH credentials for known hosts, see Host-Specific Configuration for Kadence Backups.
- WP-CLI, PHP (Phar),
wp-config.php, and firewall allowlisting: Required on many hosts. See Server Requirements & SSH Configuration for Kadence Backups before Test Server Connection if enrollment fails.
Running into more issues? These links may help you:
- Kadence Backups Troubleshooting SSH/SFTP Connection Issues
- Kadence Backups FAQs
- Troubleshooting Kadence Backups Errors
Get connected to Kadence Backups
Kadence Backups connects to your site in a two-step process:
- Connect the site to Kadence Central (the WordPress/Application Password layer).
- Enroll the site in Kadence Backups with SSH or SFTP so backups can run on the server.
Standard onboarding follows a simple process: create a Kadence Central account, connect a site, and then enroll in backups.
To start backups onboarding, visit: https://central.kadencewp.com/onboard/backups. Sign in with the account used for Kadence Central. If an older link is used (central.solidwp.com/onboard/backups), use the central.kadencewp.com URL instead.
Note: Experienced WordPress users might be asking, “Can I just install the plugin and connect from the WordPress side?”
Short answer: Yes, but Kadence Backups is a service managed through Kadence Central, rather than a standalone, plugin-only backup tool. Connecting from the Kadence Central dashboard (recommended) helps avoid compatibility issues across WordPress versions.
Step 1: Visit the Onboarding Link
First, open your Kadence Central dashboard or use the onboarding link above, then enter the full URL of the site to back up.
Kadence Central will prompt you to approve an Application Password to connect securely before SSH enrollment.
You are ready for Step 2 once you reach the enrollment screen.
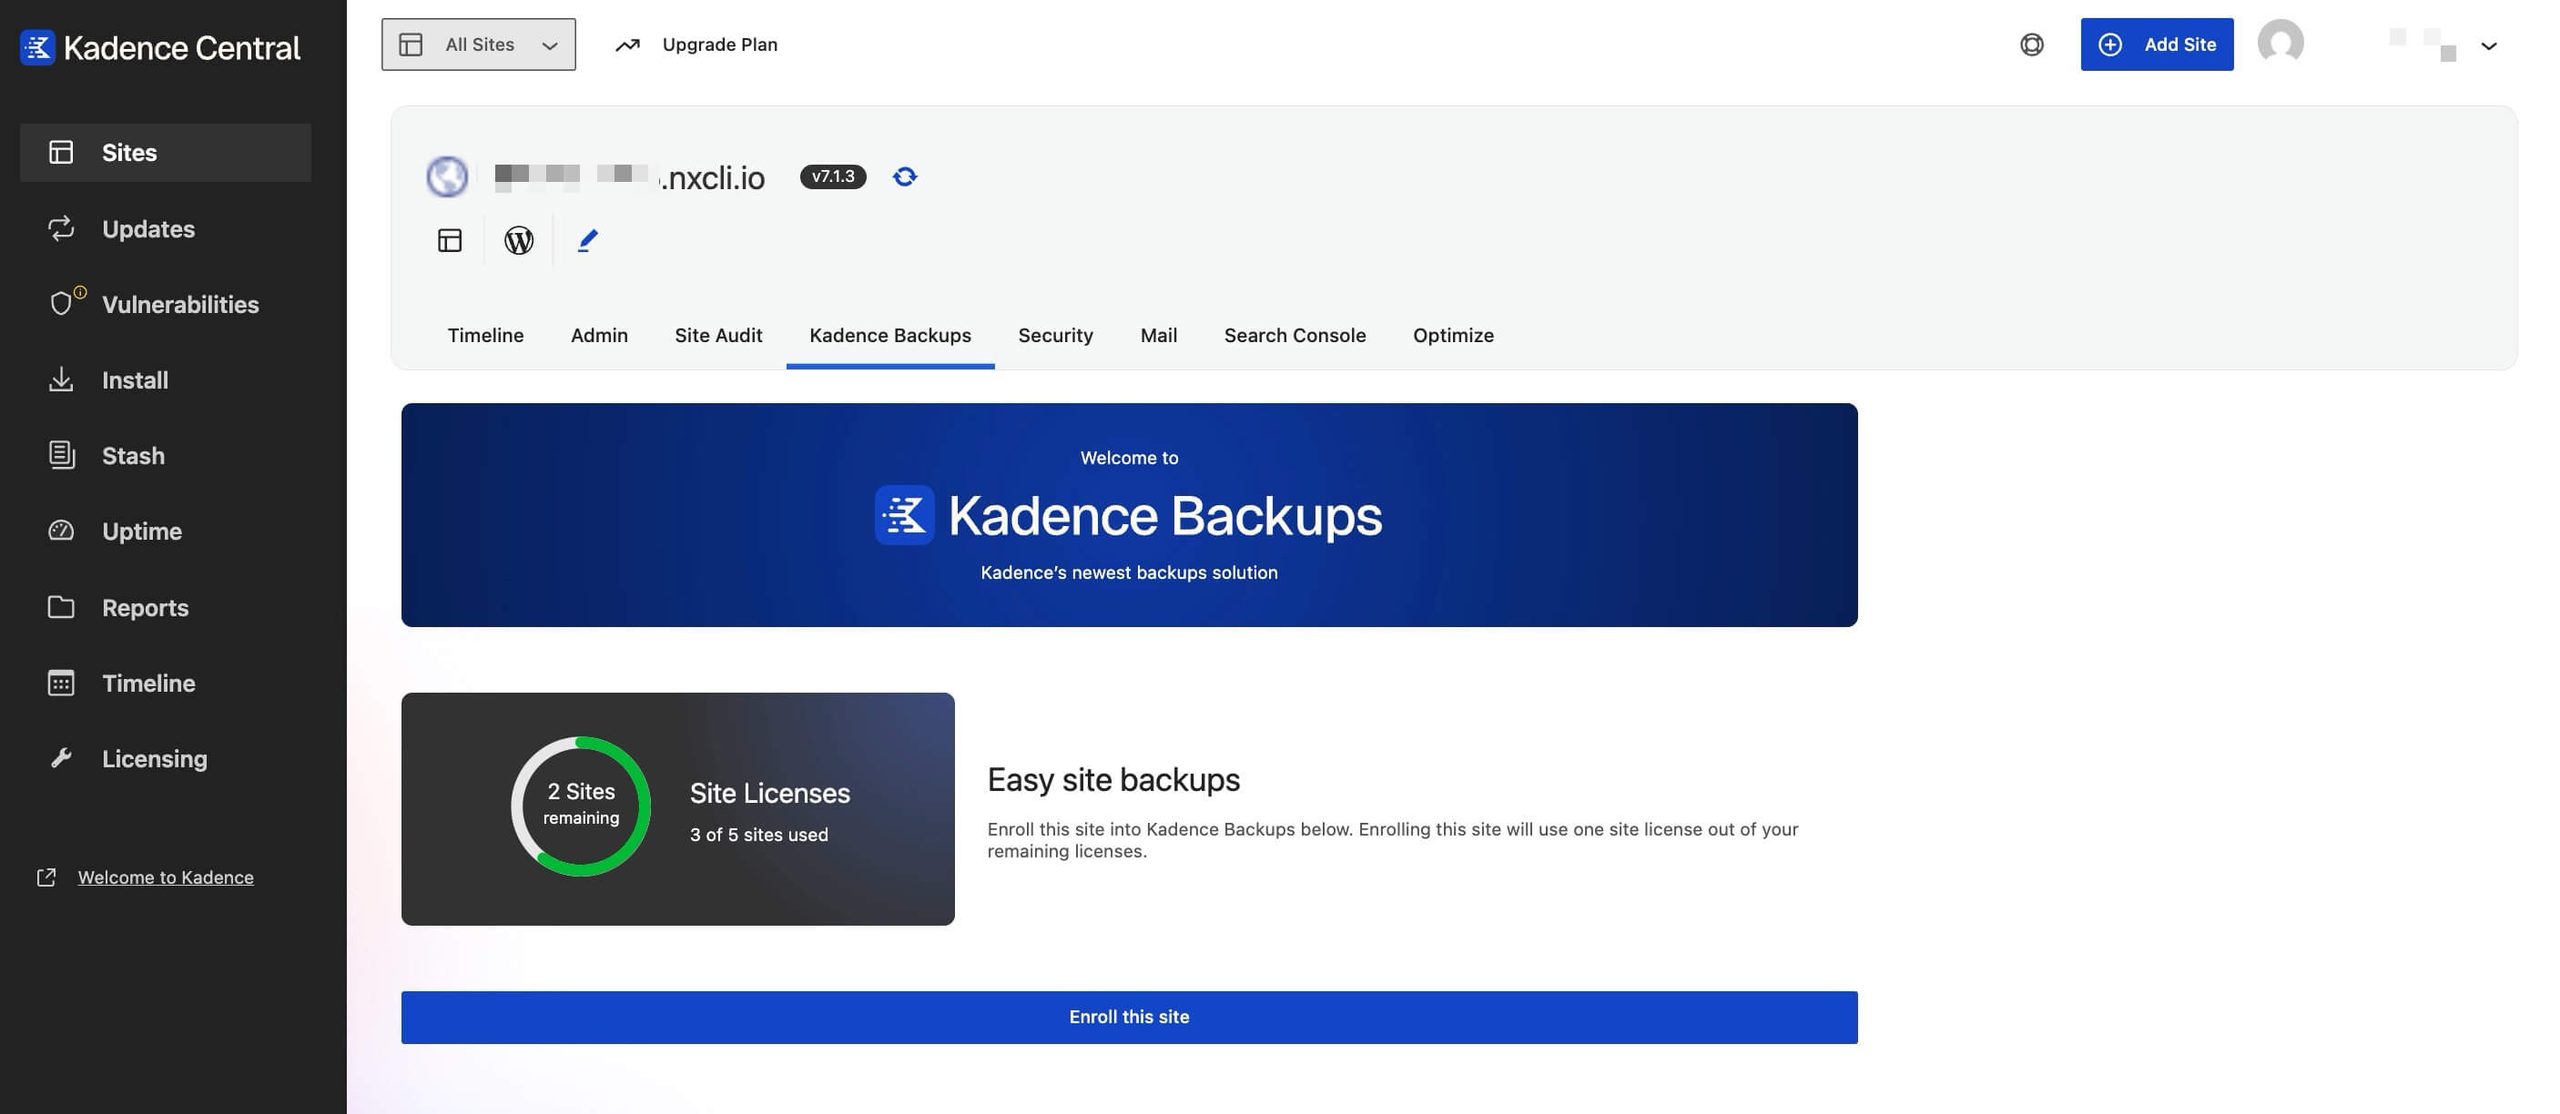
Step 2: Enroll your site in Kadence Backups
To effectively back up your site, Kadence Backups connects at a “deeper” level using SSH or SFTP credentials. The process varies slightly depending on your web host, but this document covers many popular hosts and how to connect. For host-specific steps, see Host-Specific Configuration for Kadence Backups.
Before you enter the host’s connection details, the onboarding process has one required setting and some optional advanced settings that require a bit of background understanding to make the most informed choice. No matter what, you can’t make a truly wrong choice here.
Cannot enroll your site? See I enrolled my site with Kadence Backups, but nothing happened. What should I do?
How Long Should Backups Be Stored? (Required)
Choose how long backups are retained (up to one year). Longer retention uses more storage, but Kadence Backups deduplicates unchanged data, so growth depends more on site changes than on calendar time alone.
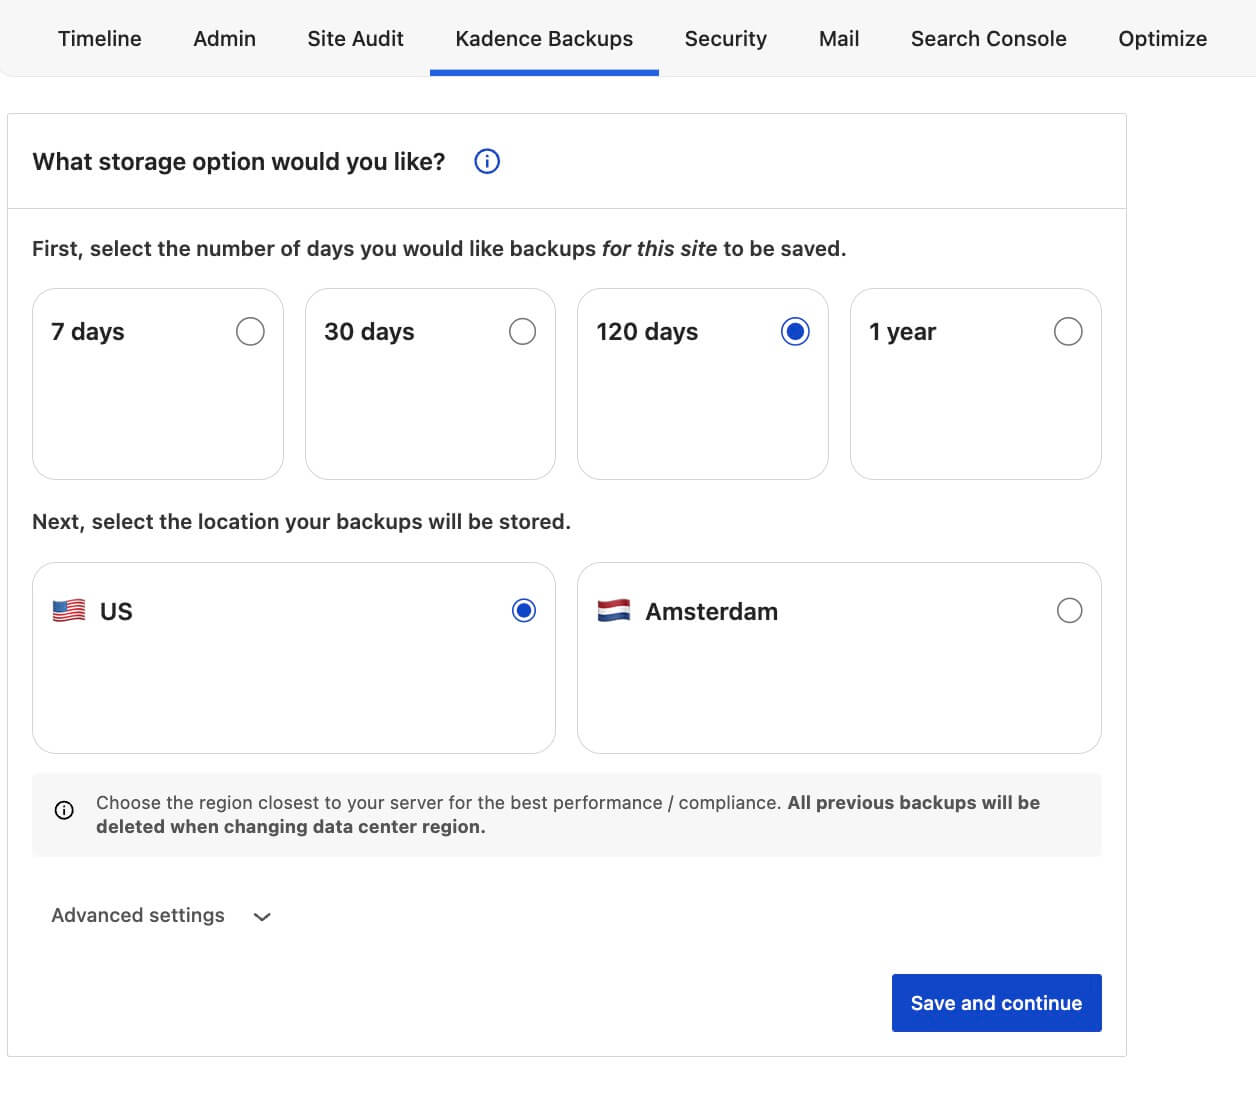
The length of time backups are stored on Kadence Backups affects total storage used, but not as exponentially as you might think. If you set a site to retain backups for 7 days or a month, the difference in size is more due to what changed on the website during that period than anything else, since Backups is optimized to reduce storage for items that have not changed on the site. The best way to save the most storage space is to use Exclude Files in the Advanced Settings.
Advanced Settings (Optional)
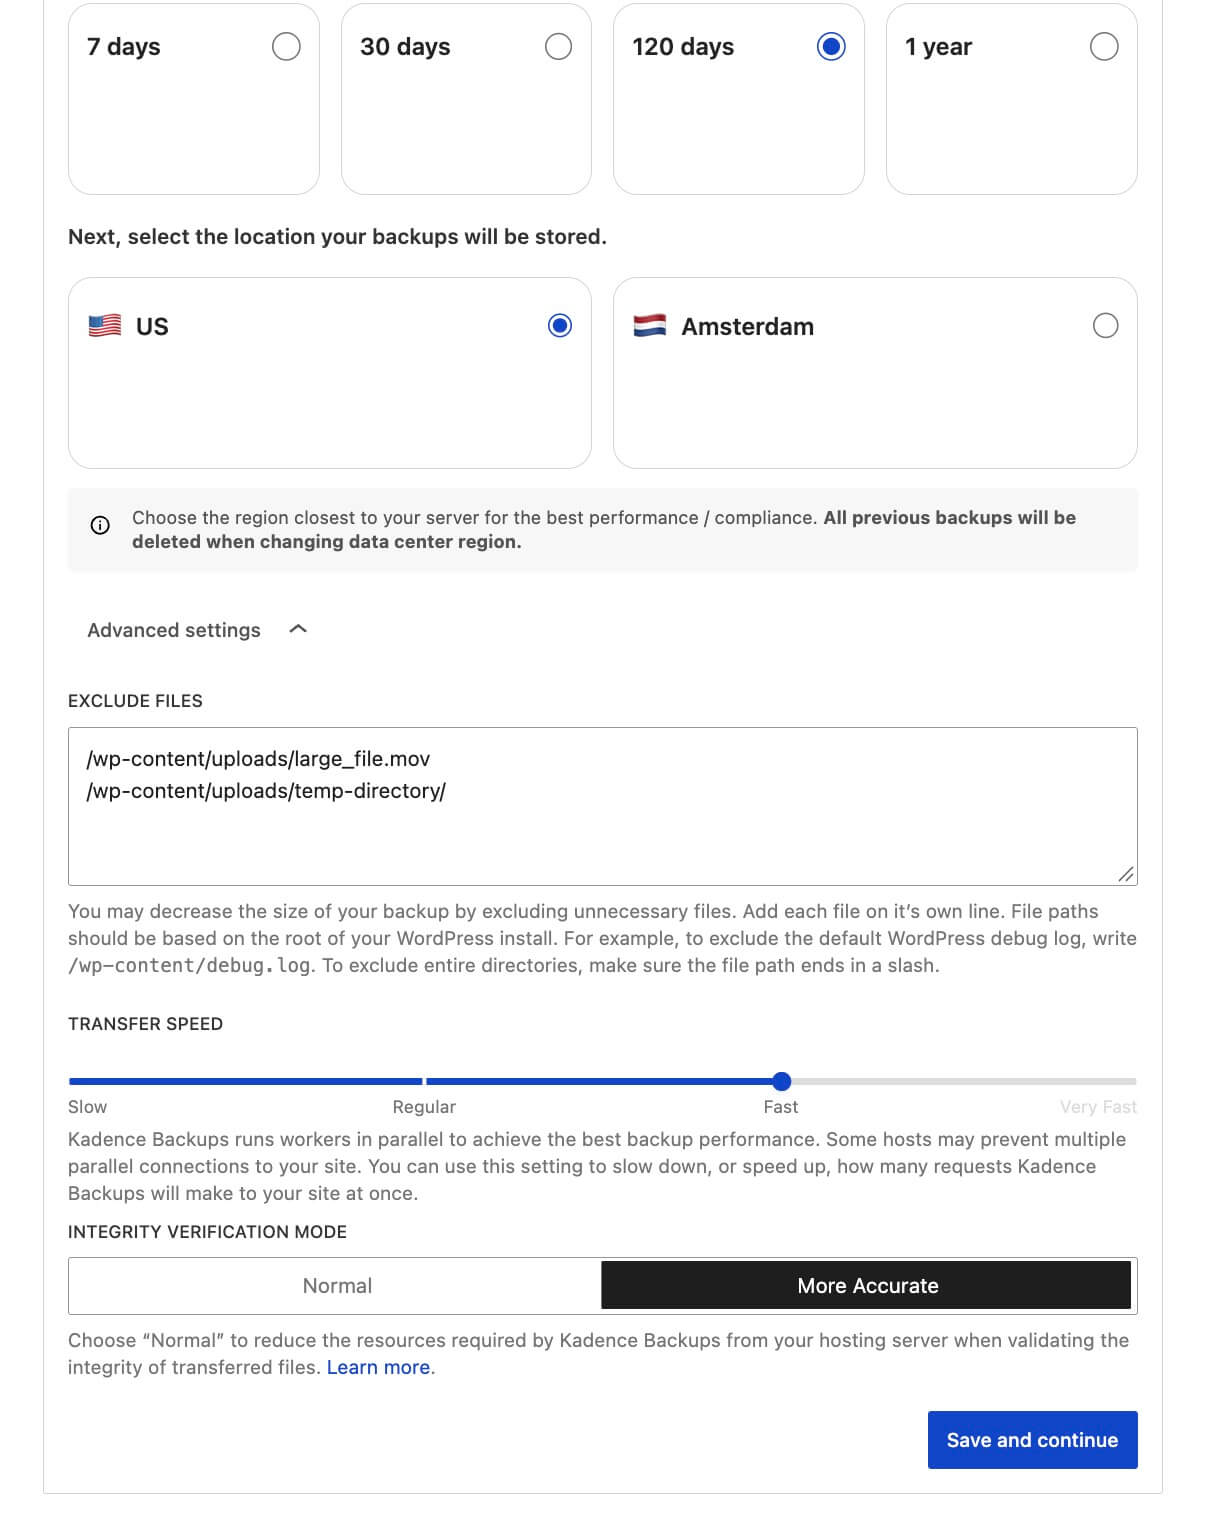
Exclude Files
List paths to exclude. Examples of files not to back up include those that are redundantly stored elsewhere or that you don’t need.
File paths should be relative to the root of your WordPress installation. For example, to exclude the default WordPress debug log, enter /wp-content/debug.log. If you want to exclude entire directories, make sure the file path ends with a slash (/).
Transfer Speed
Kadence Backups can use parallel workers for speed. Some hosts limit concurrent connections; if backups fail, lower this setting.
When settings look correct, continue to server connection.
Step 3: Connecting to Your WordPress Host
This section of the doc covers generically what each setting means and how to connect. No matter which host you select from the list. If you mistakenly selected the wrong host from the list, the Change host link at the bottom lets you select a different one.
- For step-by-step instructions for Nexcess, SiteGround, Bluehost, GoDaddy, IONOS, VentraIP, cPanel/WHM, and other hosts, see Host-Specific Configuration for Kadence Backups.
- For WP-CLI, public keys,
wp-config.php, Phar, and IP allowlisting, see Server Requirements & SSH Configuration for Kadence Backups.
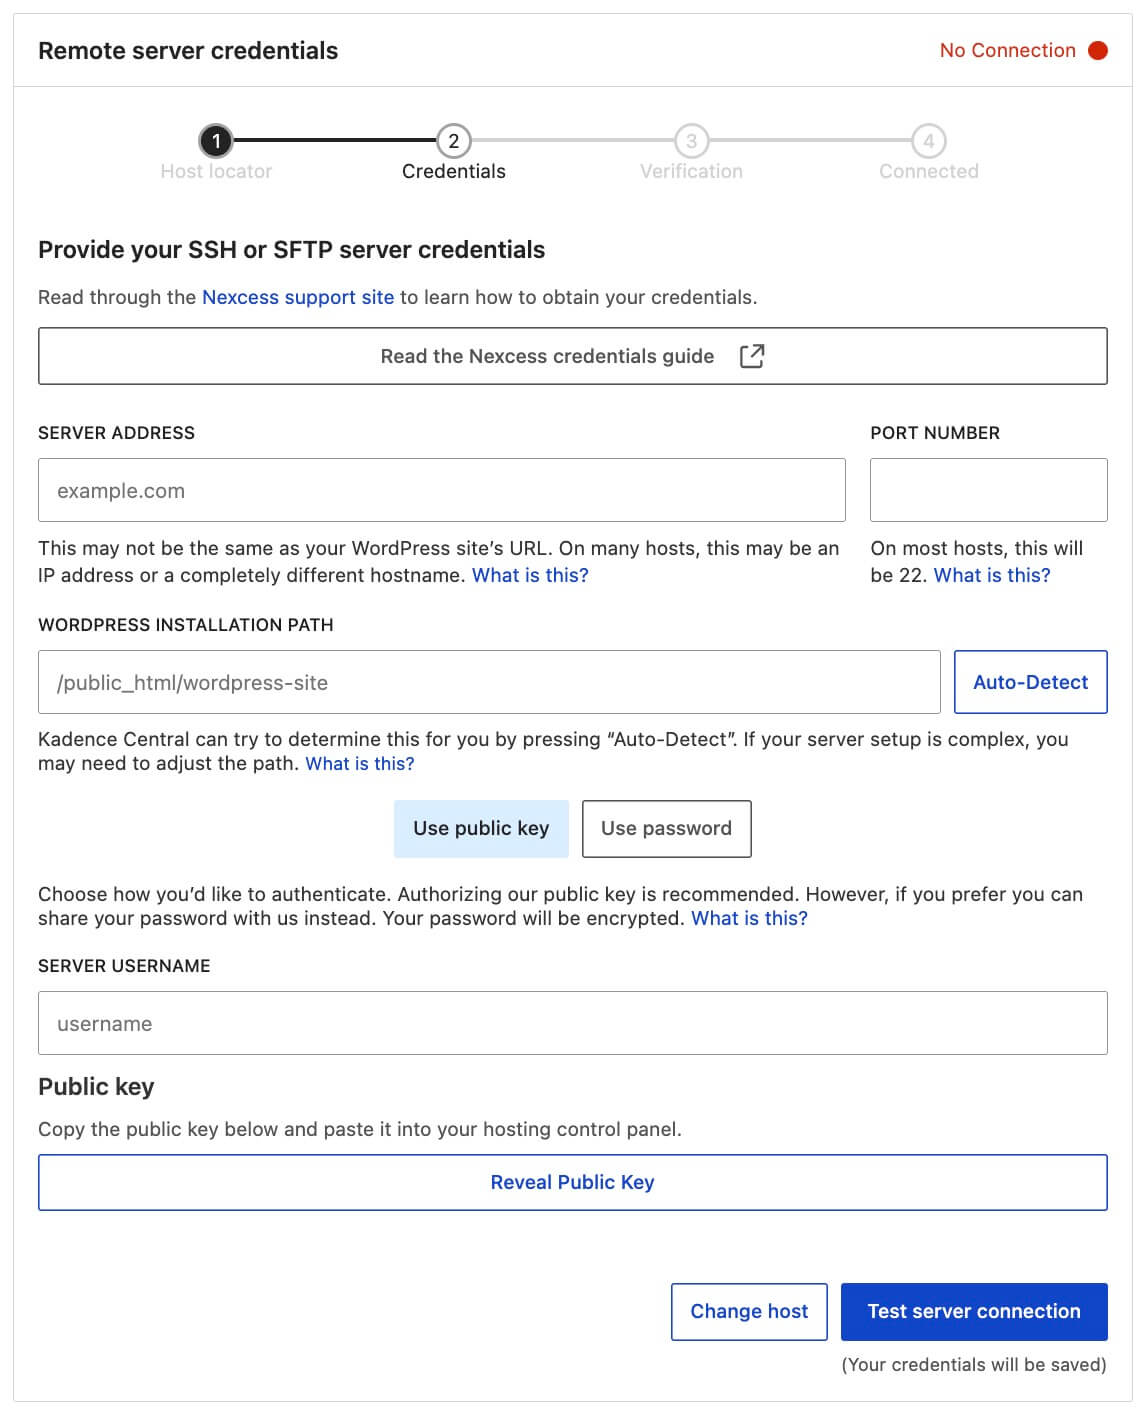
Server Address
The Server Address is usually found in the host’s control panel. Note that this might differ from your WordPress site’s URL and could be an IP address or a unique hostname.
Most of the time, it will look like either example.com or 123.45.67
Port Number
The Port Number is used to enable hosts to restrict traffic to specific ports and control it. Usually, for SSH traffic, port 22 is used, but this may vary depending on your host.
WordPress Installation Path
The WordPress Installation Path is necessary to point Kadence Backups to the exact location where it can find the configuration files to back up the site effectively.
To find your installation path in WordPress, navigate to Tools → Site Health → Info → Directories and Sizes.
Auto-Detect Feature: You can select “Auto-Detect” to have Kadence Central try to find the path for you. If the automatic detection doesn’t work, you need to enter the path manually. The path must be correct for backups to work.
Choose Your Authentication Method
Public Key authentication is the recommended method for security reasons. You’ll need to copy the public key (after selecting Reveal) from the Kadence Backups enrollment screen and paste it into your hosting control panel.
Using a Public key allows Kadence Backups to be authenticated in a way that can’t be compromised, even if a malicious actor guesses a password. It is a bit of extra work up front and requires knowing how to add those keys to your web host’s panel, but it is worth the extra effort.
Alternatively, you can choose: Use Password and enter your server account password for SSH (SSH access must still be enabled on the host; on many hosts this is the same password used for SFTP). The password is stored encrypted for the connection.
For key import, CSF allowlists, WP-CLI, and related server setup, see Server Requirements & SSH Configuration for Kadence Backups.
Server Username
Enter the username associated with your server account. Note that this is not the WordPress username, but the user that your host used to install WordPress on the server itself. In most cases, it’s displayed prominently in the hosting control panel.
Do not connect as the root user. Kadence Backups requires a non-root SSH/SFTP account.
Testing the Connection
Once all the required fields are filled out, click Test Server Connection to verify the connection between Kadence Backups and your host.
If all goes as planned, you’ll be connected and ready to learn how to access and restore your backed-up files.
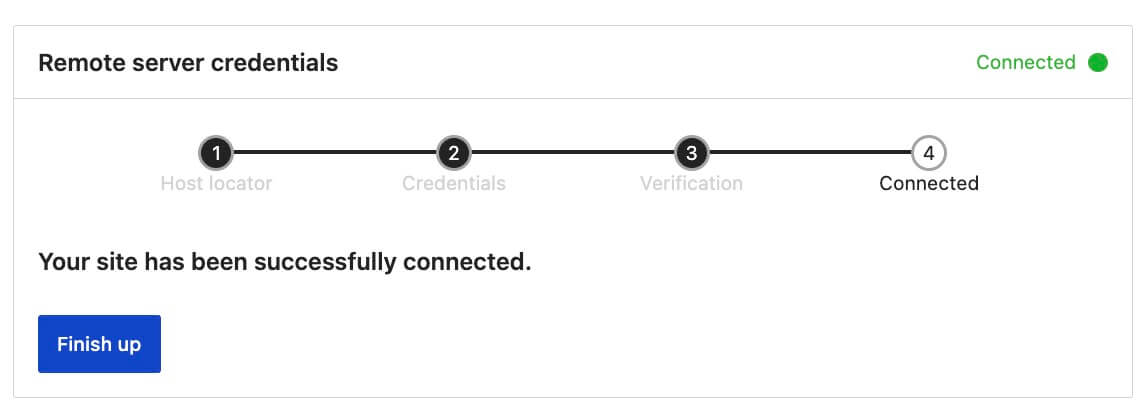
For specific instructions based on your host, see Host-Specific Configuration for Kadence Backups.
What Happens After You Connect Your Site?
After enrollment succeeds, Kadence Backups immediately starts a backup. View progress on the site Timeline in Kadence Central, or use View your first backup if shown.
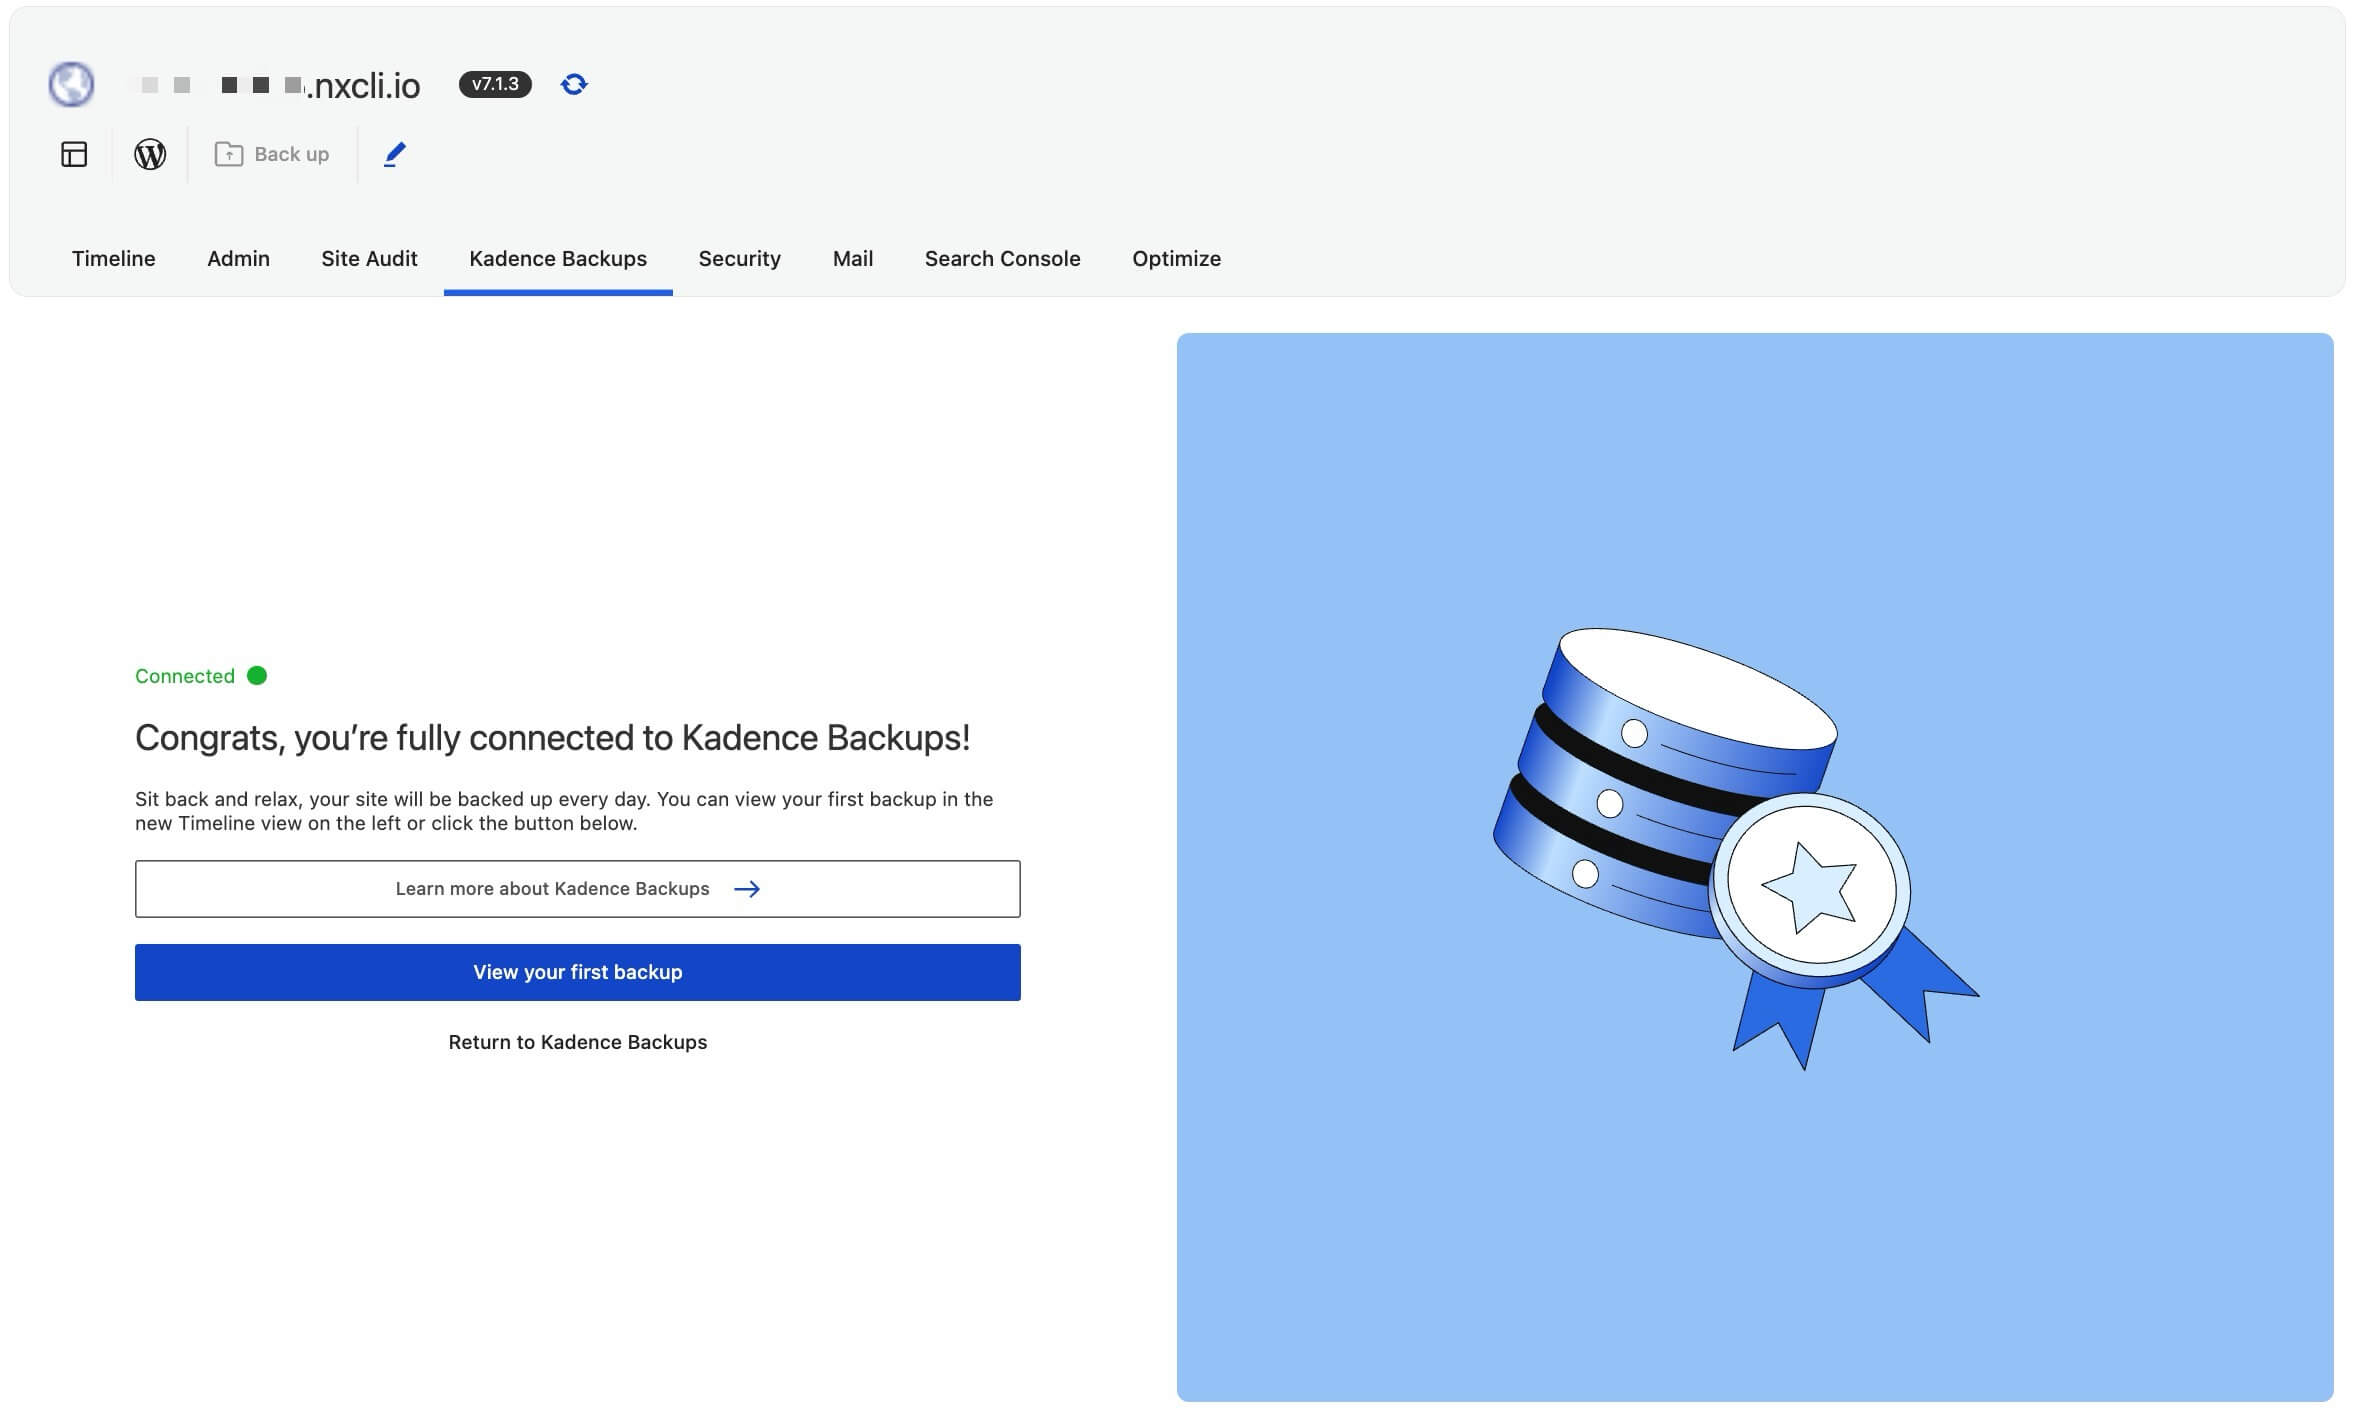

For ongoing monitoring, connection status, and email alerts, see Managing Your Kadence Backups.
Monitoring and Downloading Your Backup
For larger sites, backups can take time; you can confirm they are running by checking the Timeline screen. You do not have to remain on that screen, as the backup will continue without checking on it.
Once the backup is complete, use the Timeline Site Backup card to access your backup.

The only reason you’d need to download an archive is for redundantly storing it, so if you’re looking to restore the site from a backup, skip to the Restoring a Backup section
Before it can be downloaded, the ZIP file itself needs to be built. This is because Kadence Backups is designed to reduce redundancy, so there’s no stockpile of ZIPs waiting to be downloaded.
On the Timeline screen, each Site Backup card has a Create archive button. Click that, and once it’s done (the process you’re kicking off there will take varying amounts of time depending on the site’s size), you’ll be able to download the archive file.
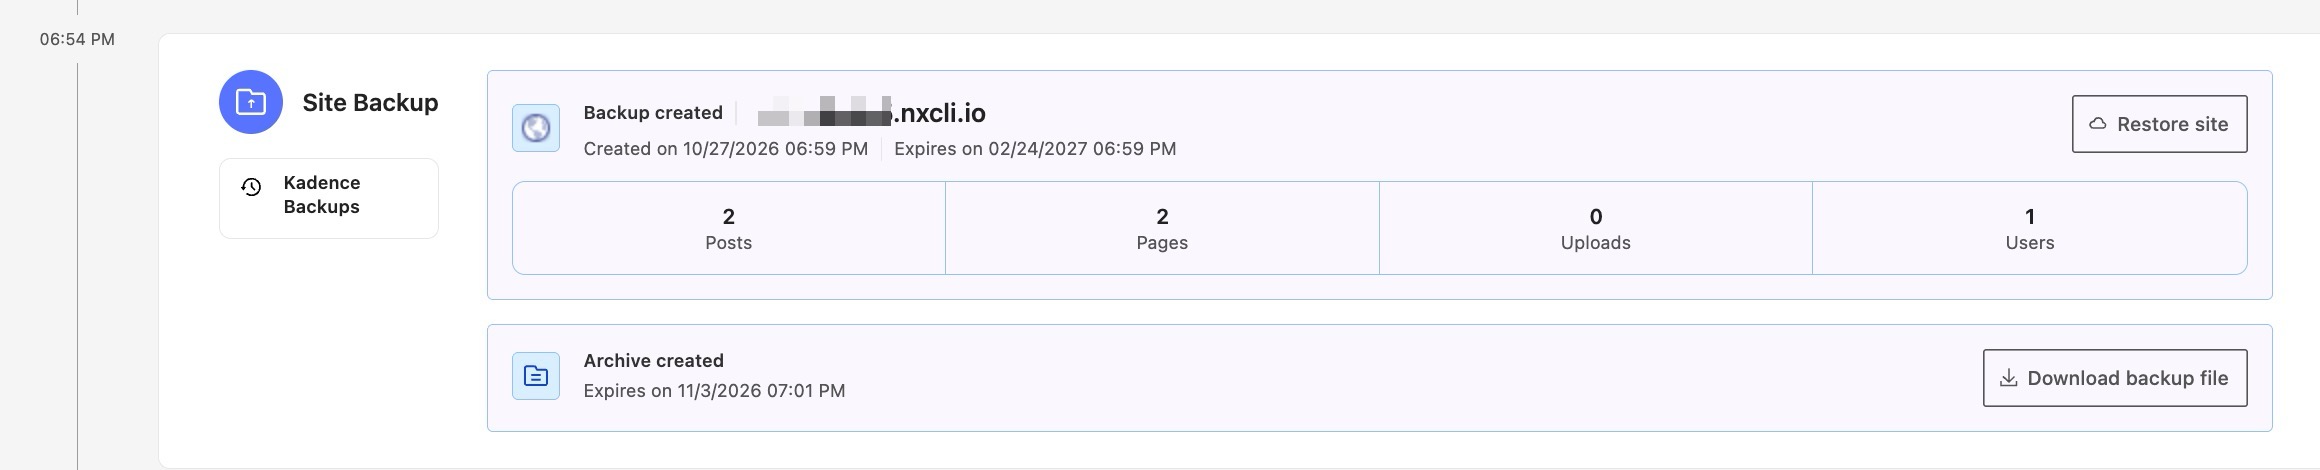
Restoring a Backup
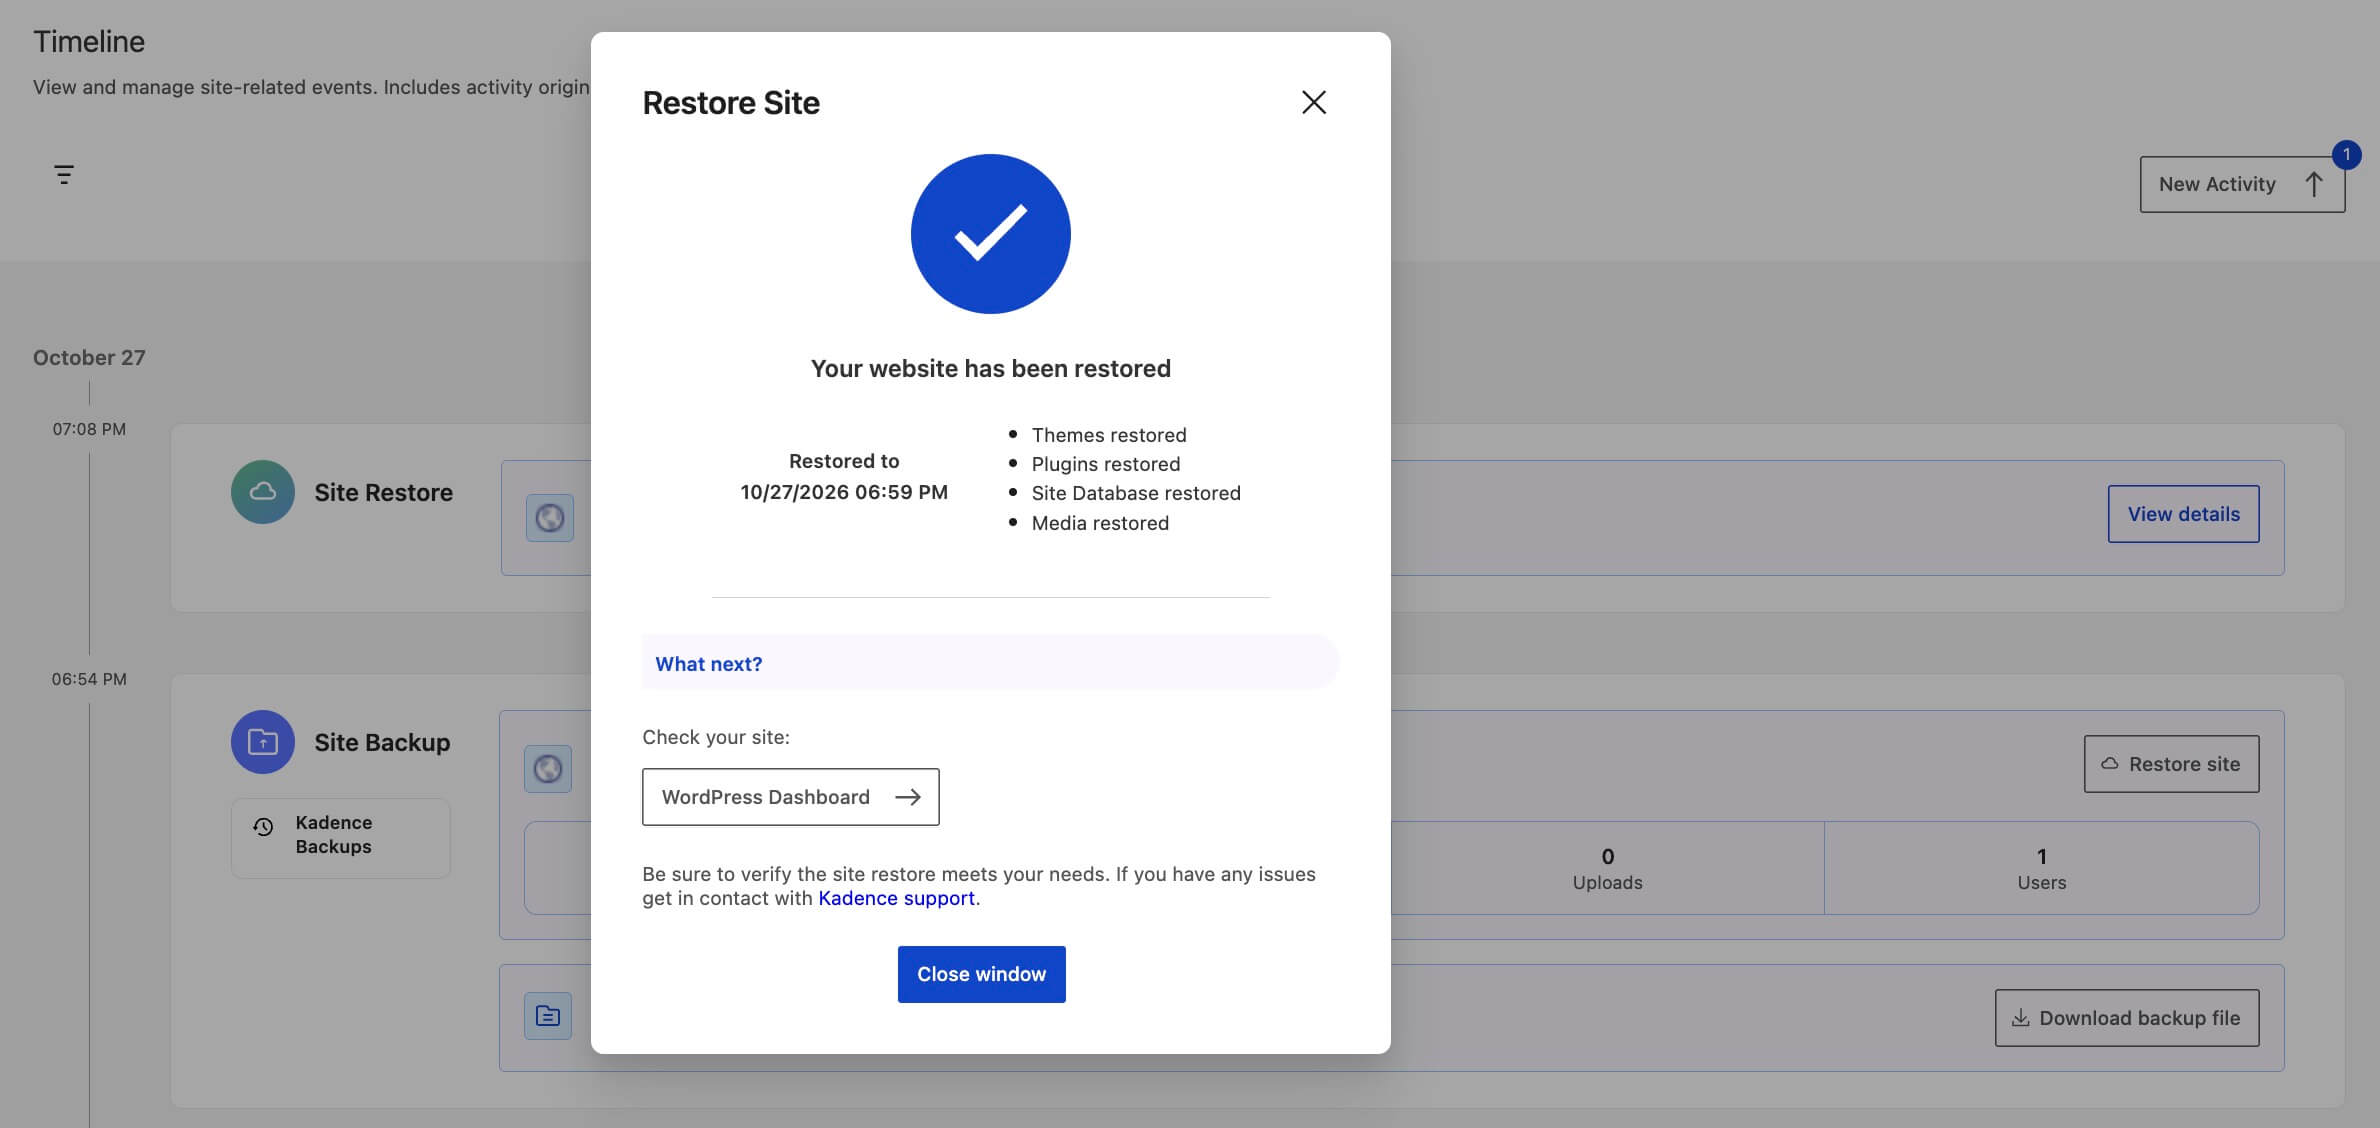
On the same Site Backup card, choose Restore site. After confirming that you want to roll the site back to the state it was in at the specified time, the process runs automatically in the background.
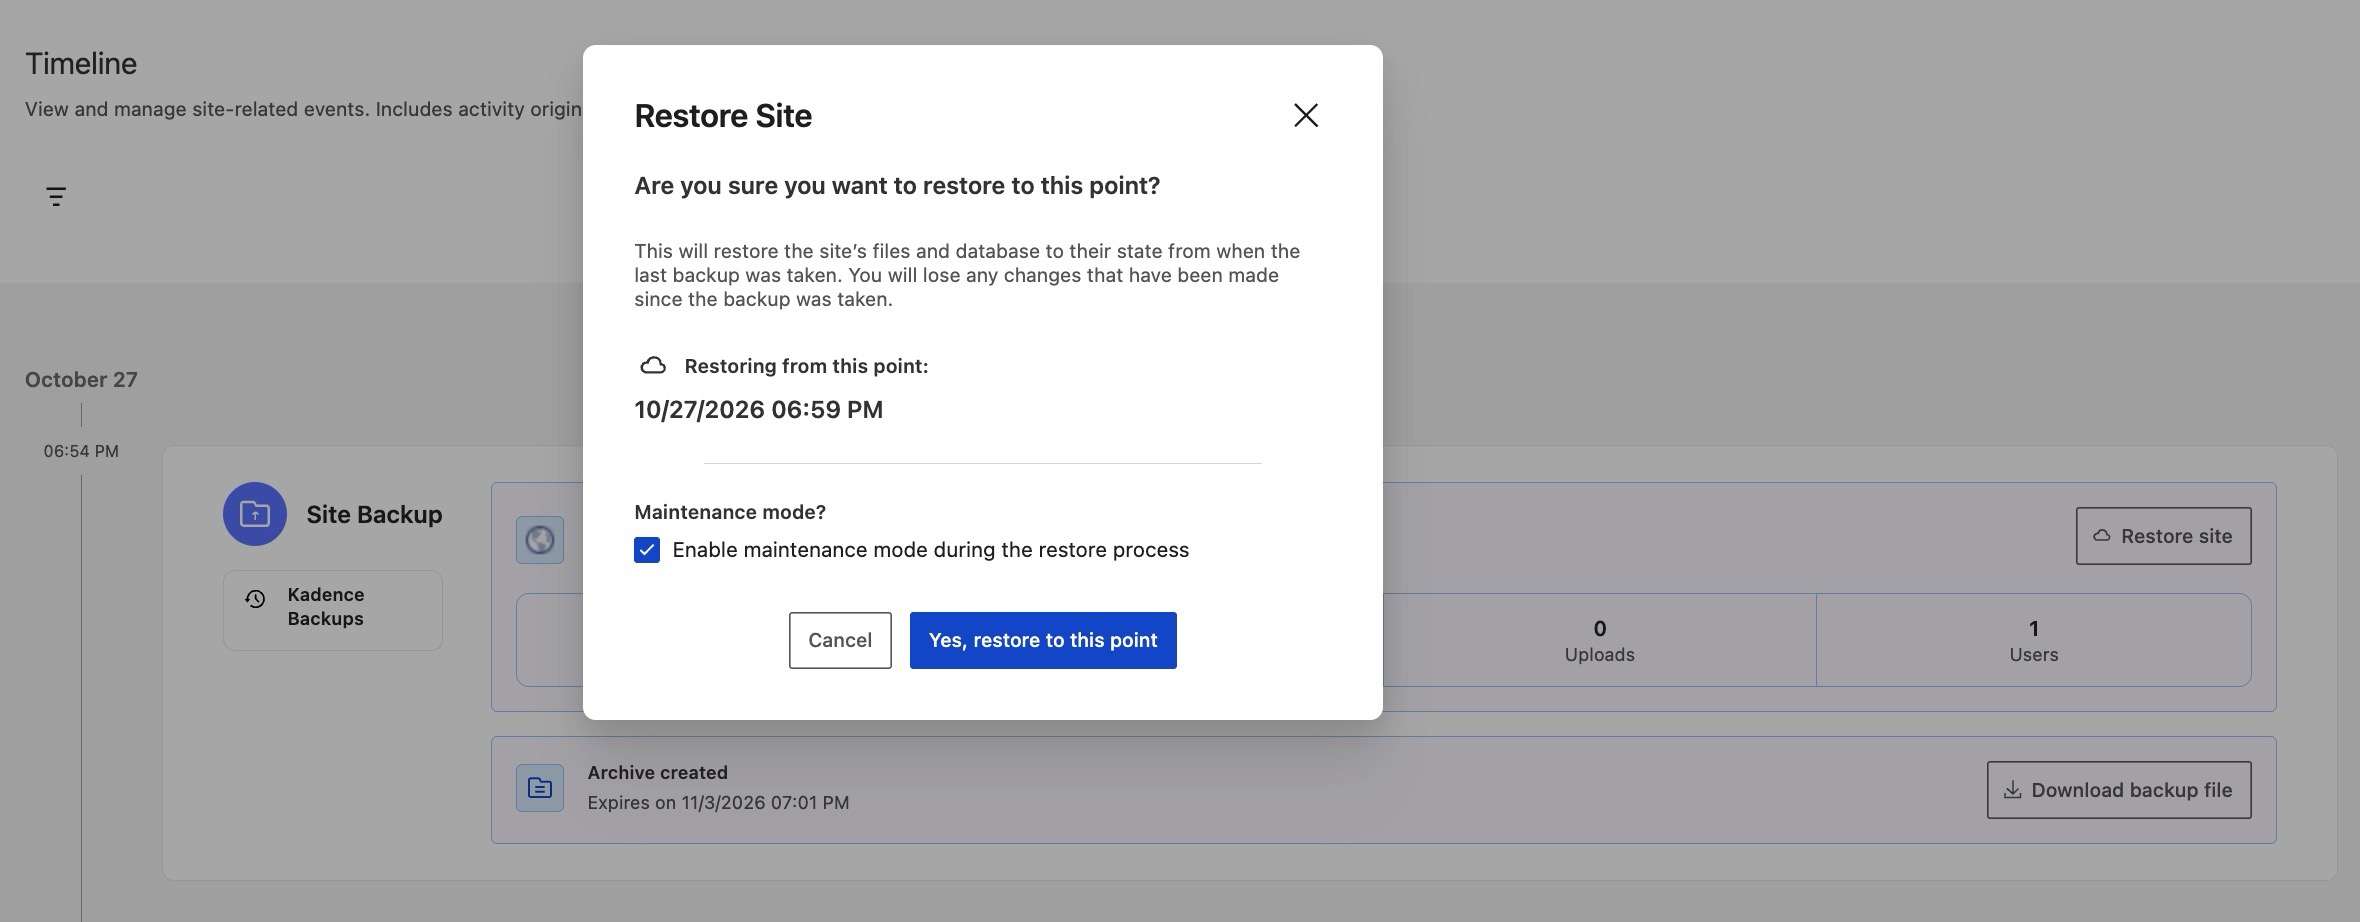
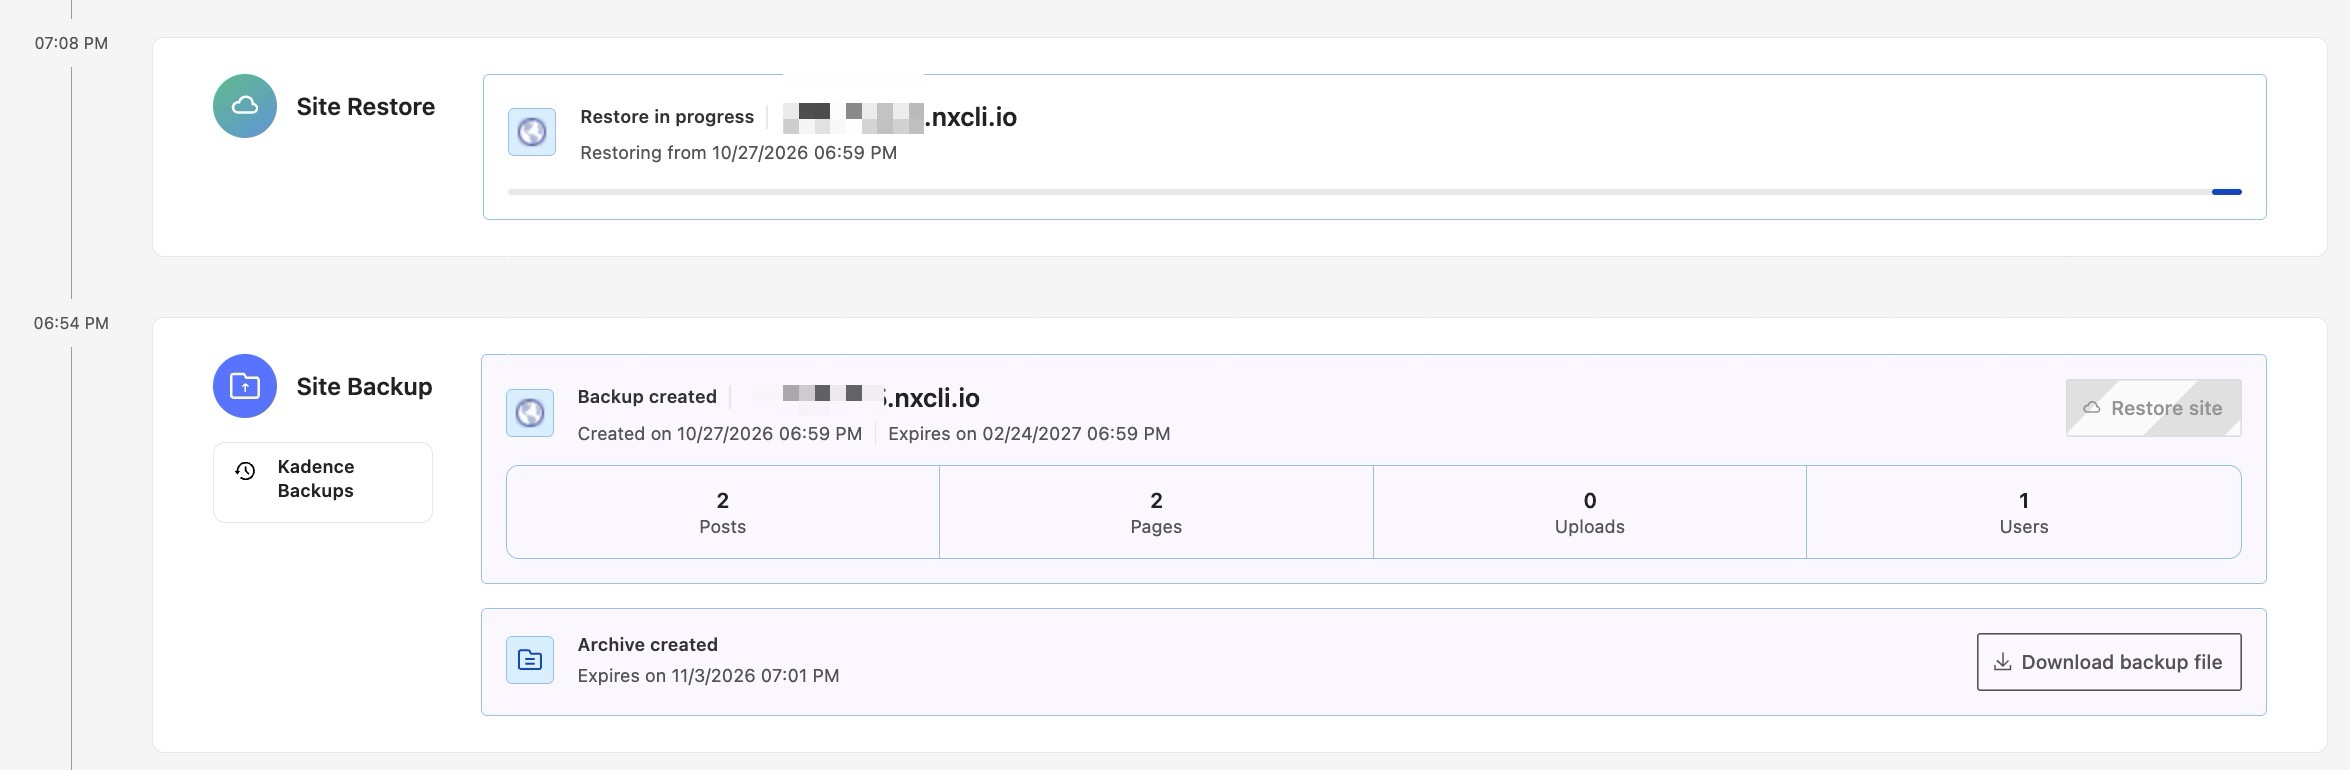
You can monitor the restore process on the main Timeline screen.
Once the restore is complete, you will see a View details button, and clicking it opens a window with restore details: