The Events Calendar
Configuring Eventbrite Tickets
The Eventbrite Tickets plugin allows us to quickly create events on your WordPress site and associate them with tickets over on Eventbrite.com.
Before you can use it and start adding tickets, however, you will need to get your website connected to your Eventbrite account. Connecting is quick and easy:
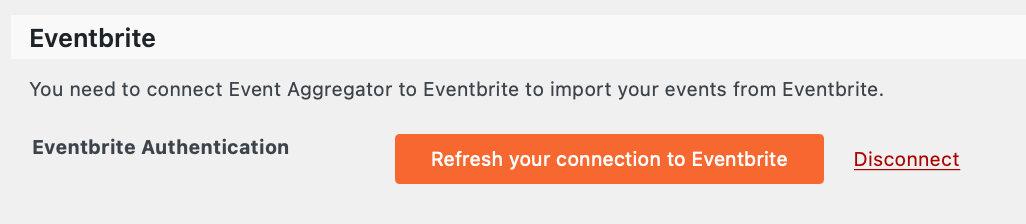
- Navigate to your WP Admin → Events → Settings → Integrations → Import and click the Connect to Eventbrite button.
- You will be redirected to your Eventbrite.com account.
- After logging in, you will be asked to allow our ea.theeventscalendar.com application to access your account.
- Once you click “Allow,” your site will be connected and you’ll be redirected to your imports page where you can import your first event from Eventbrite.
And that’s it! From there, you’re ready to begin creating events. If you’re unsure how to get started, check out our Eventbrite Tickets new user primer as further reading 🙂
Eventbrite Import Settings
You can import Eventbrite events with the Event Aggregator tool (WP Admin → Events → Import).
To import events and display tickets on your site, select the Eventbrite Import Origin.
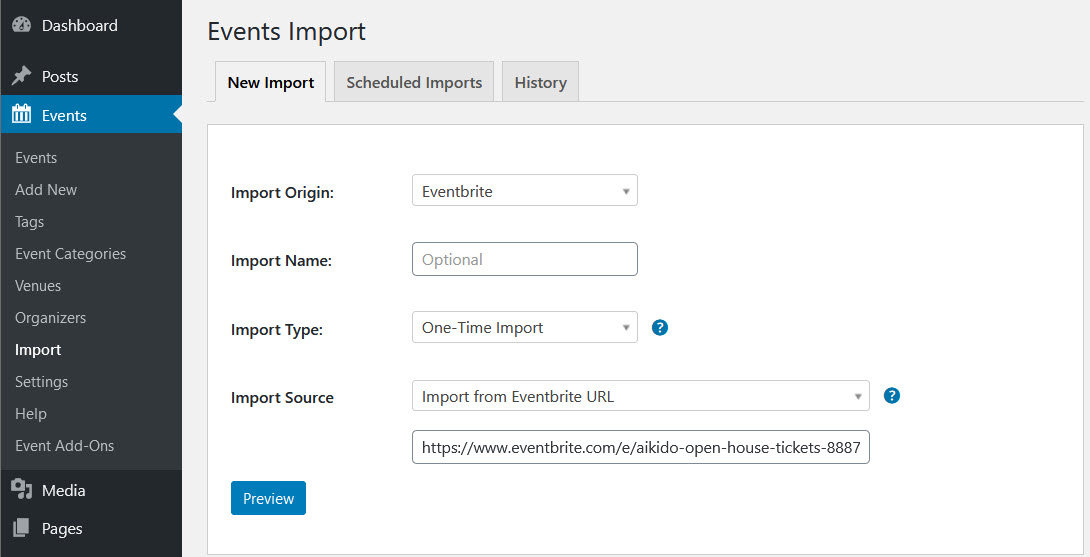
Events imported with Event Aggregator’s “Other URL” will not display tickets.
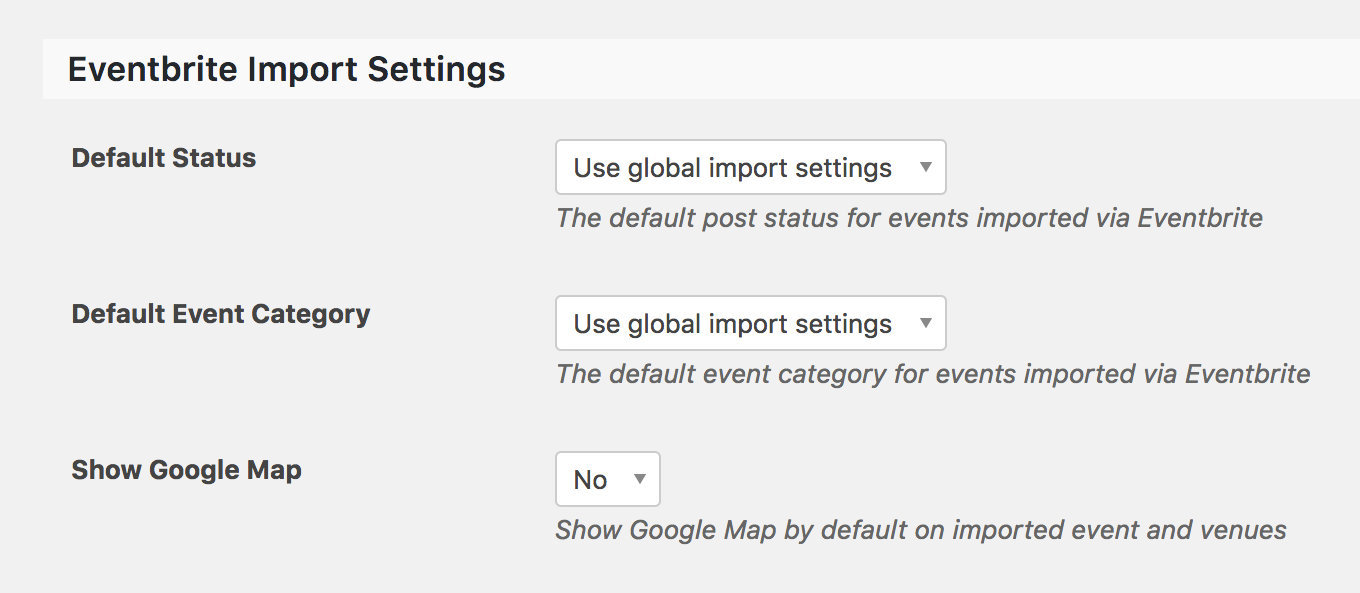
You can change the “Default Status,” “Default Event Category,” and “Show Map” options for Eventbrite imports under “Eventbrite Import Settings” by navigating to WP Admin → Events → Settings → Imports tab.
Do also note that your Eventbrite imports will obey the Event Update Authority settings.
Remove authorization
If you need to disconnect your site from Eventbrite, go to Events → Settings → Integrations → Import and click the Disconnect button next to “Refresh your connection to Eventbrite”.