

Solid Central
Managing Reports
Coming soon: Solid Central is becoming Kadence Central. You may see both names used while we update the product, documentation, and customer experience.
Kadence Central’s Reports feature gives you the ability to generate reports of your website activities and updates with ease. The reports can be customized, scheduled, and even white-labeled for sharing with clients or team members.
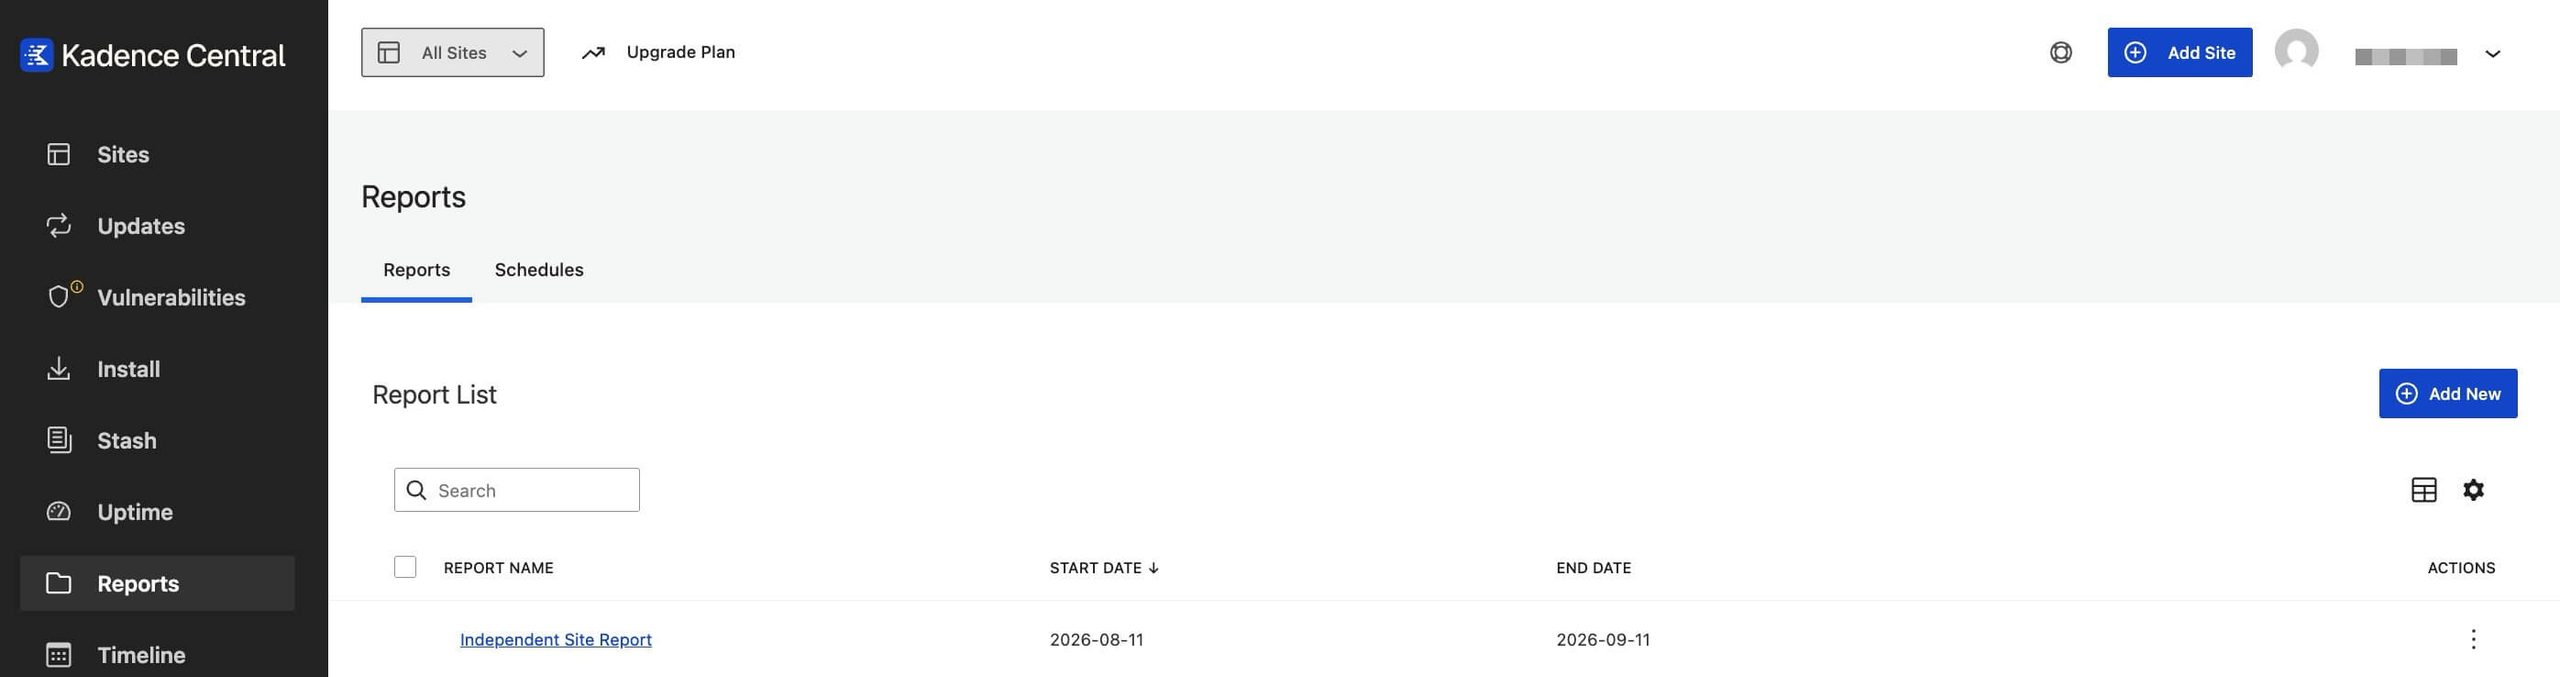
This guide covers everything you need to know when managing reports in Kadence Central.
Creating a Report
To create a new Report, head to your Kadence Central Dashboard’s Reports screen and the Reports tab. Select the “Add New” button to start working on your first report.
Report settings
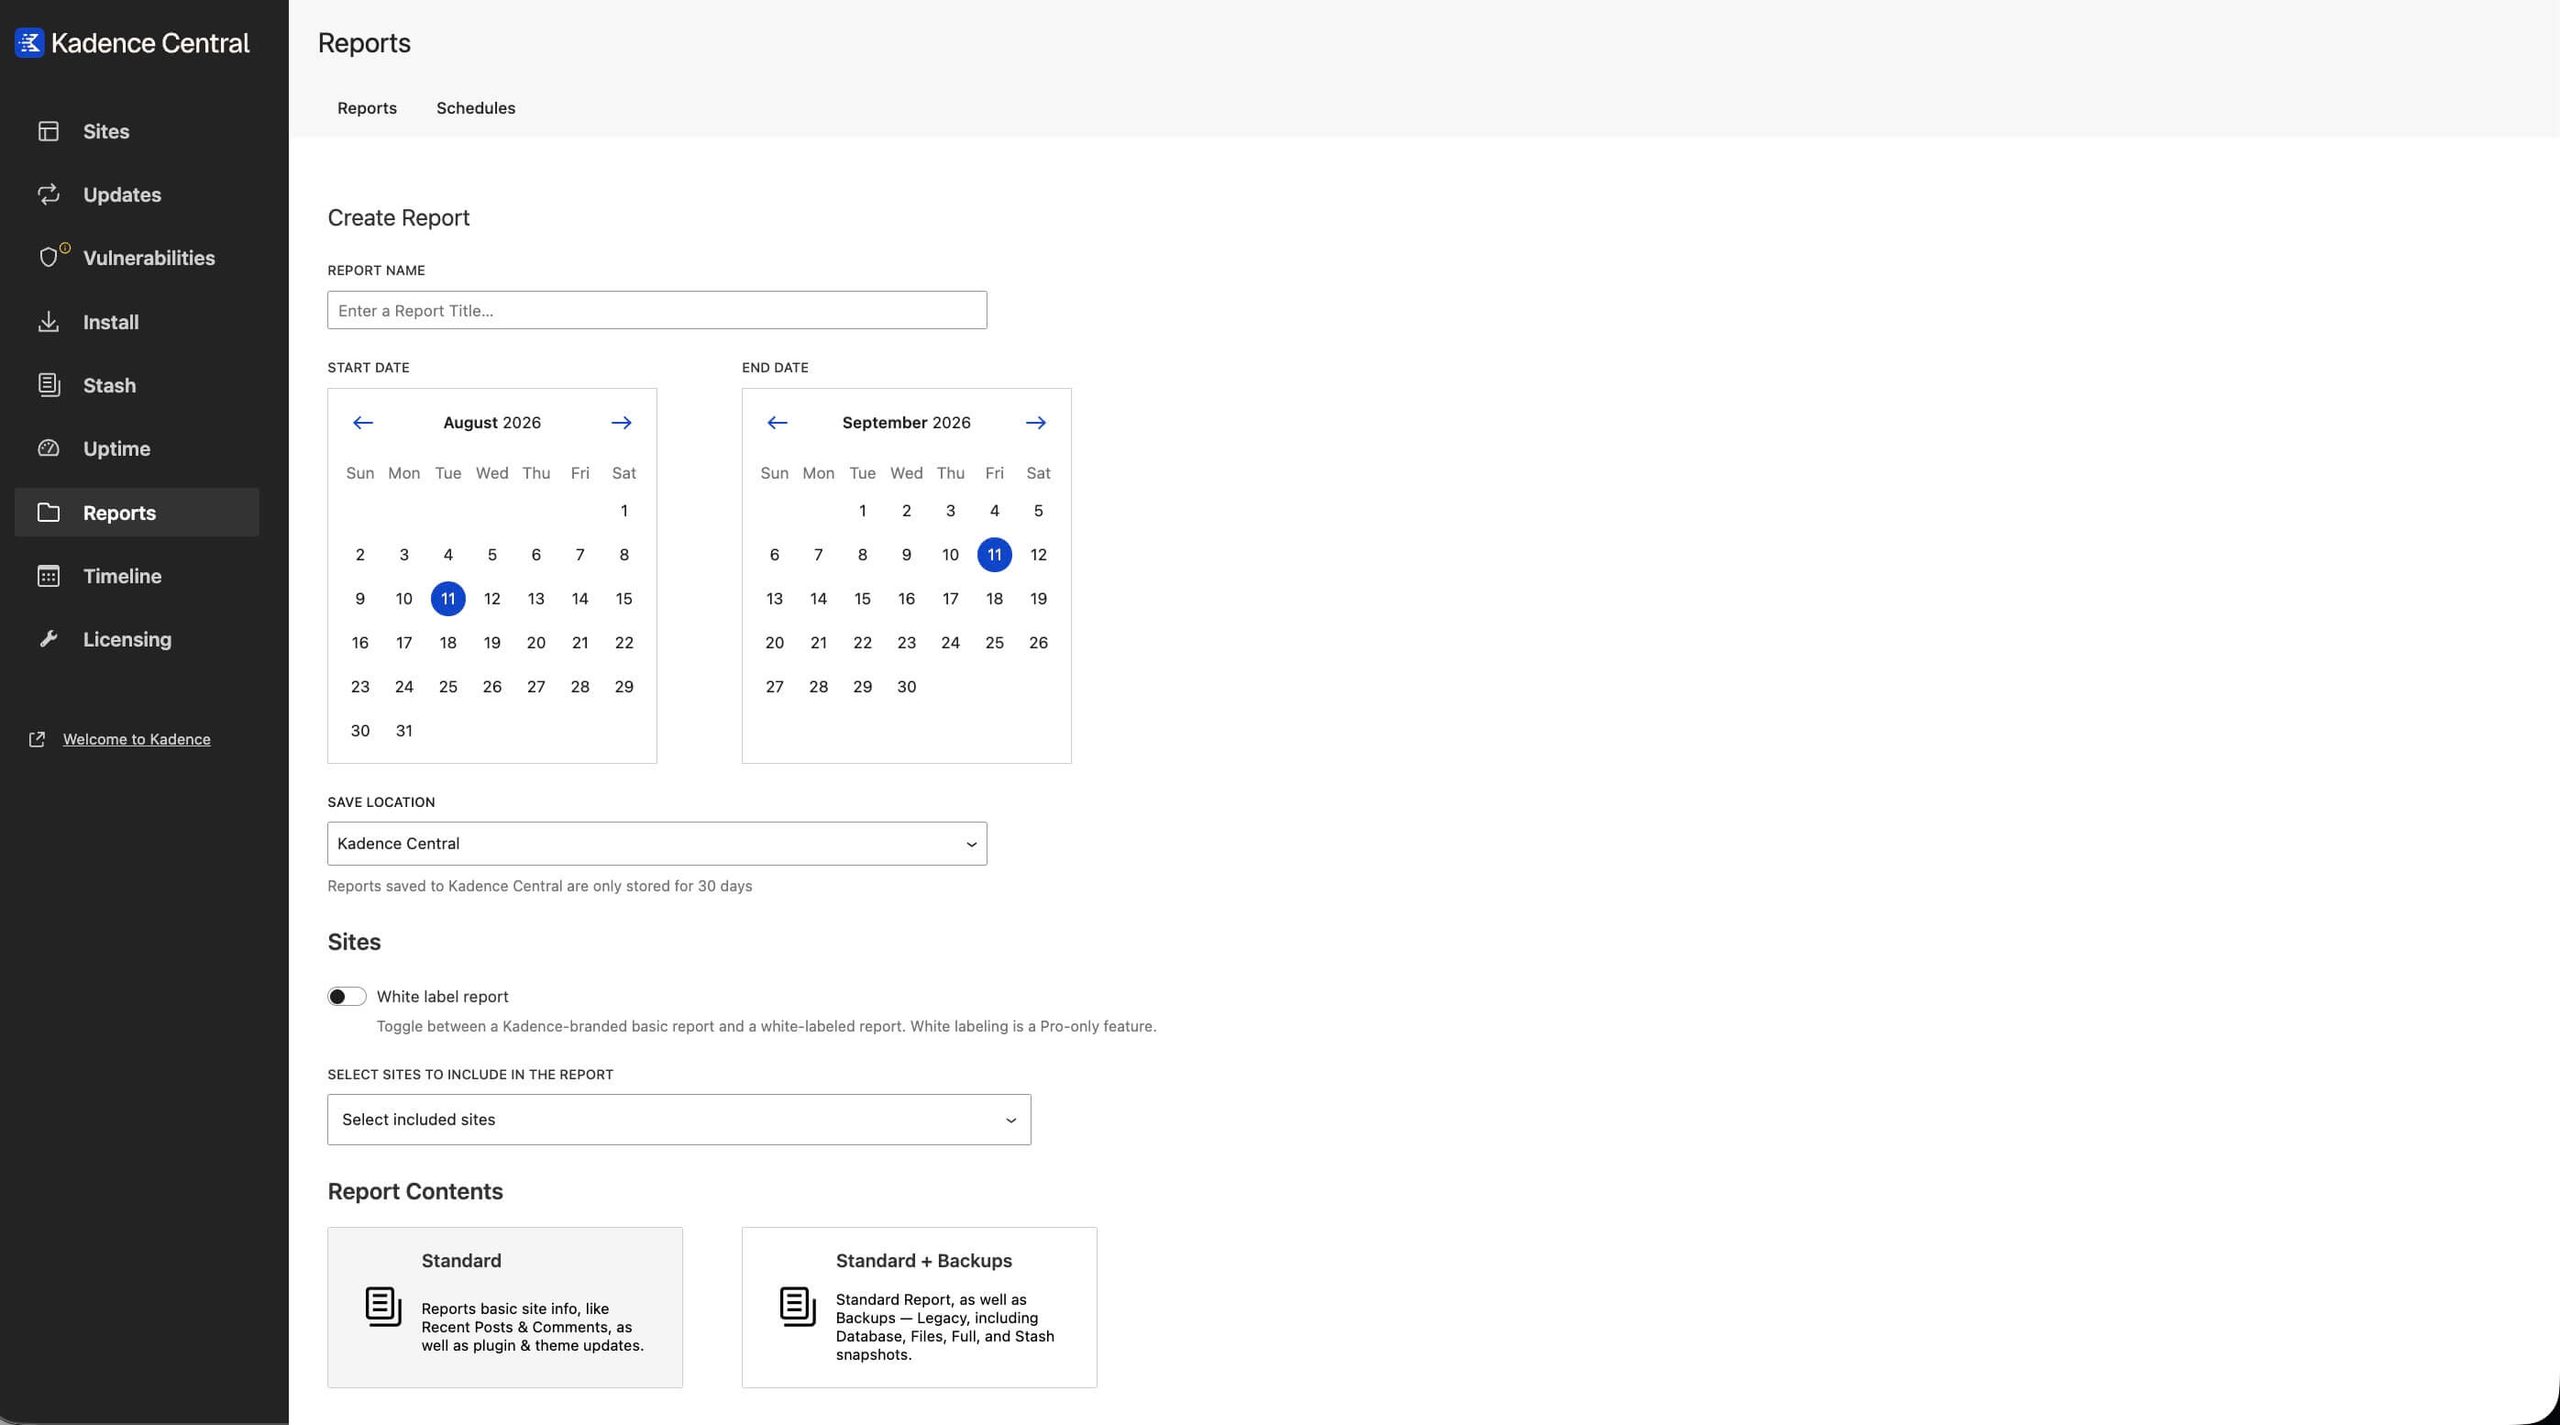
Report Name
Provide a title for the report to easily identify it later.
Start Date & End Date
Use the date pickers to specify the reporting period.
Choose a Save Location
Choose where to save the report:
- In your Kadence Central account (stored for 30 days), or
- On a connected website’s filesystem
White Label Reports
Kadence Central Pro license holders can enable White label report to remove default Kadence Central branding and use your custom white-labeled design.
Select Sites to Include
Choose which connected websites the report covers.
Choose Report Contents:
Kadence Central offers several report types:
- Standard: Basic site details, including recent posts, comments, and plugin/theme updates.
- Standard + Backups: Includes Solid Backups Legacy (formerly BackupBuddy) data such as database and file backups.
- Standard + Security: Security-related insights, including brute force protection and site scans (via Kadence Security, formerly Solid Security).
- Standard + Stats: Website statistics.
- Everything: All available data.
- Custom: Manually select which elements to include.
Generate the Report
Click Create Report to finalize and create your report.
Scheduling a Report
Scheduling automates report generation and delivery at set intervals, so you and your clients can stay on top of site activity without manual work.
Open the Schedules tab in Kadence Central and click Add New.
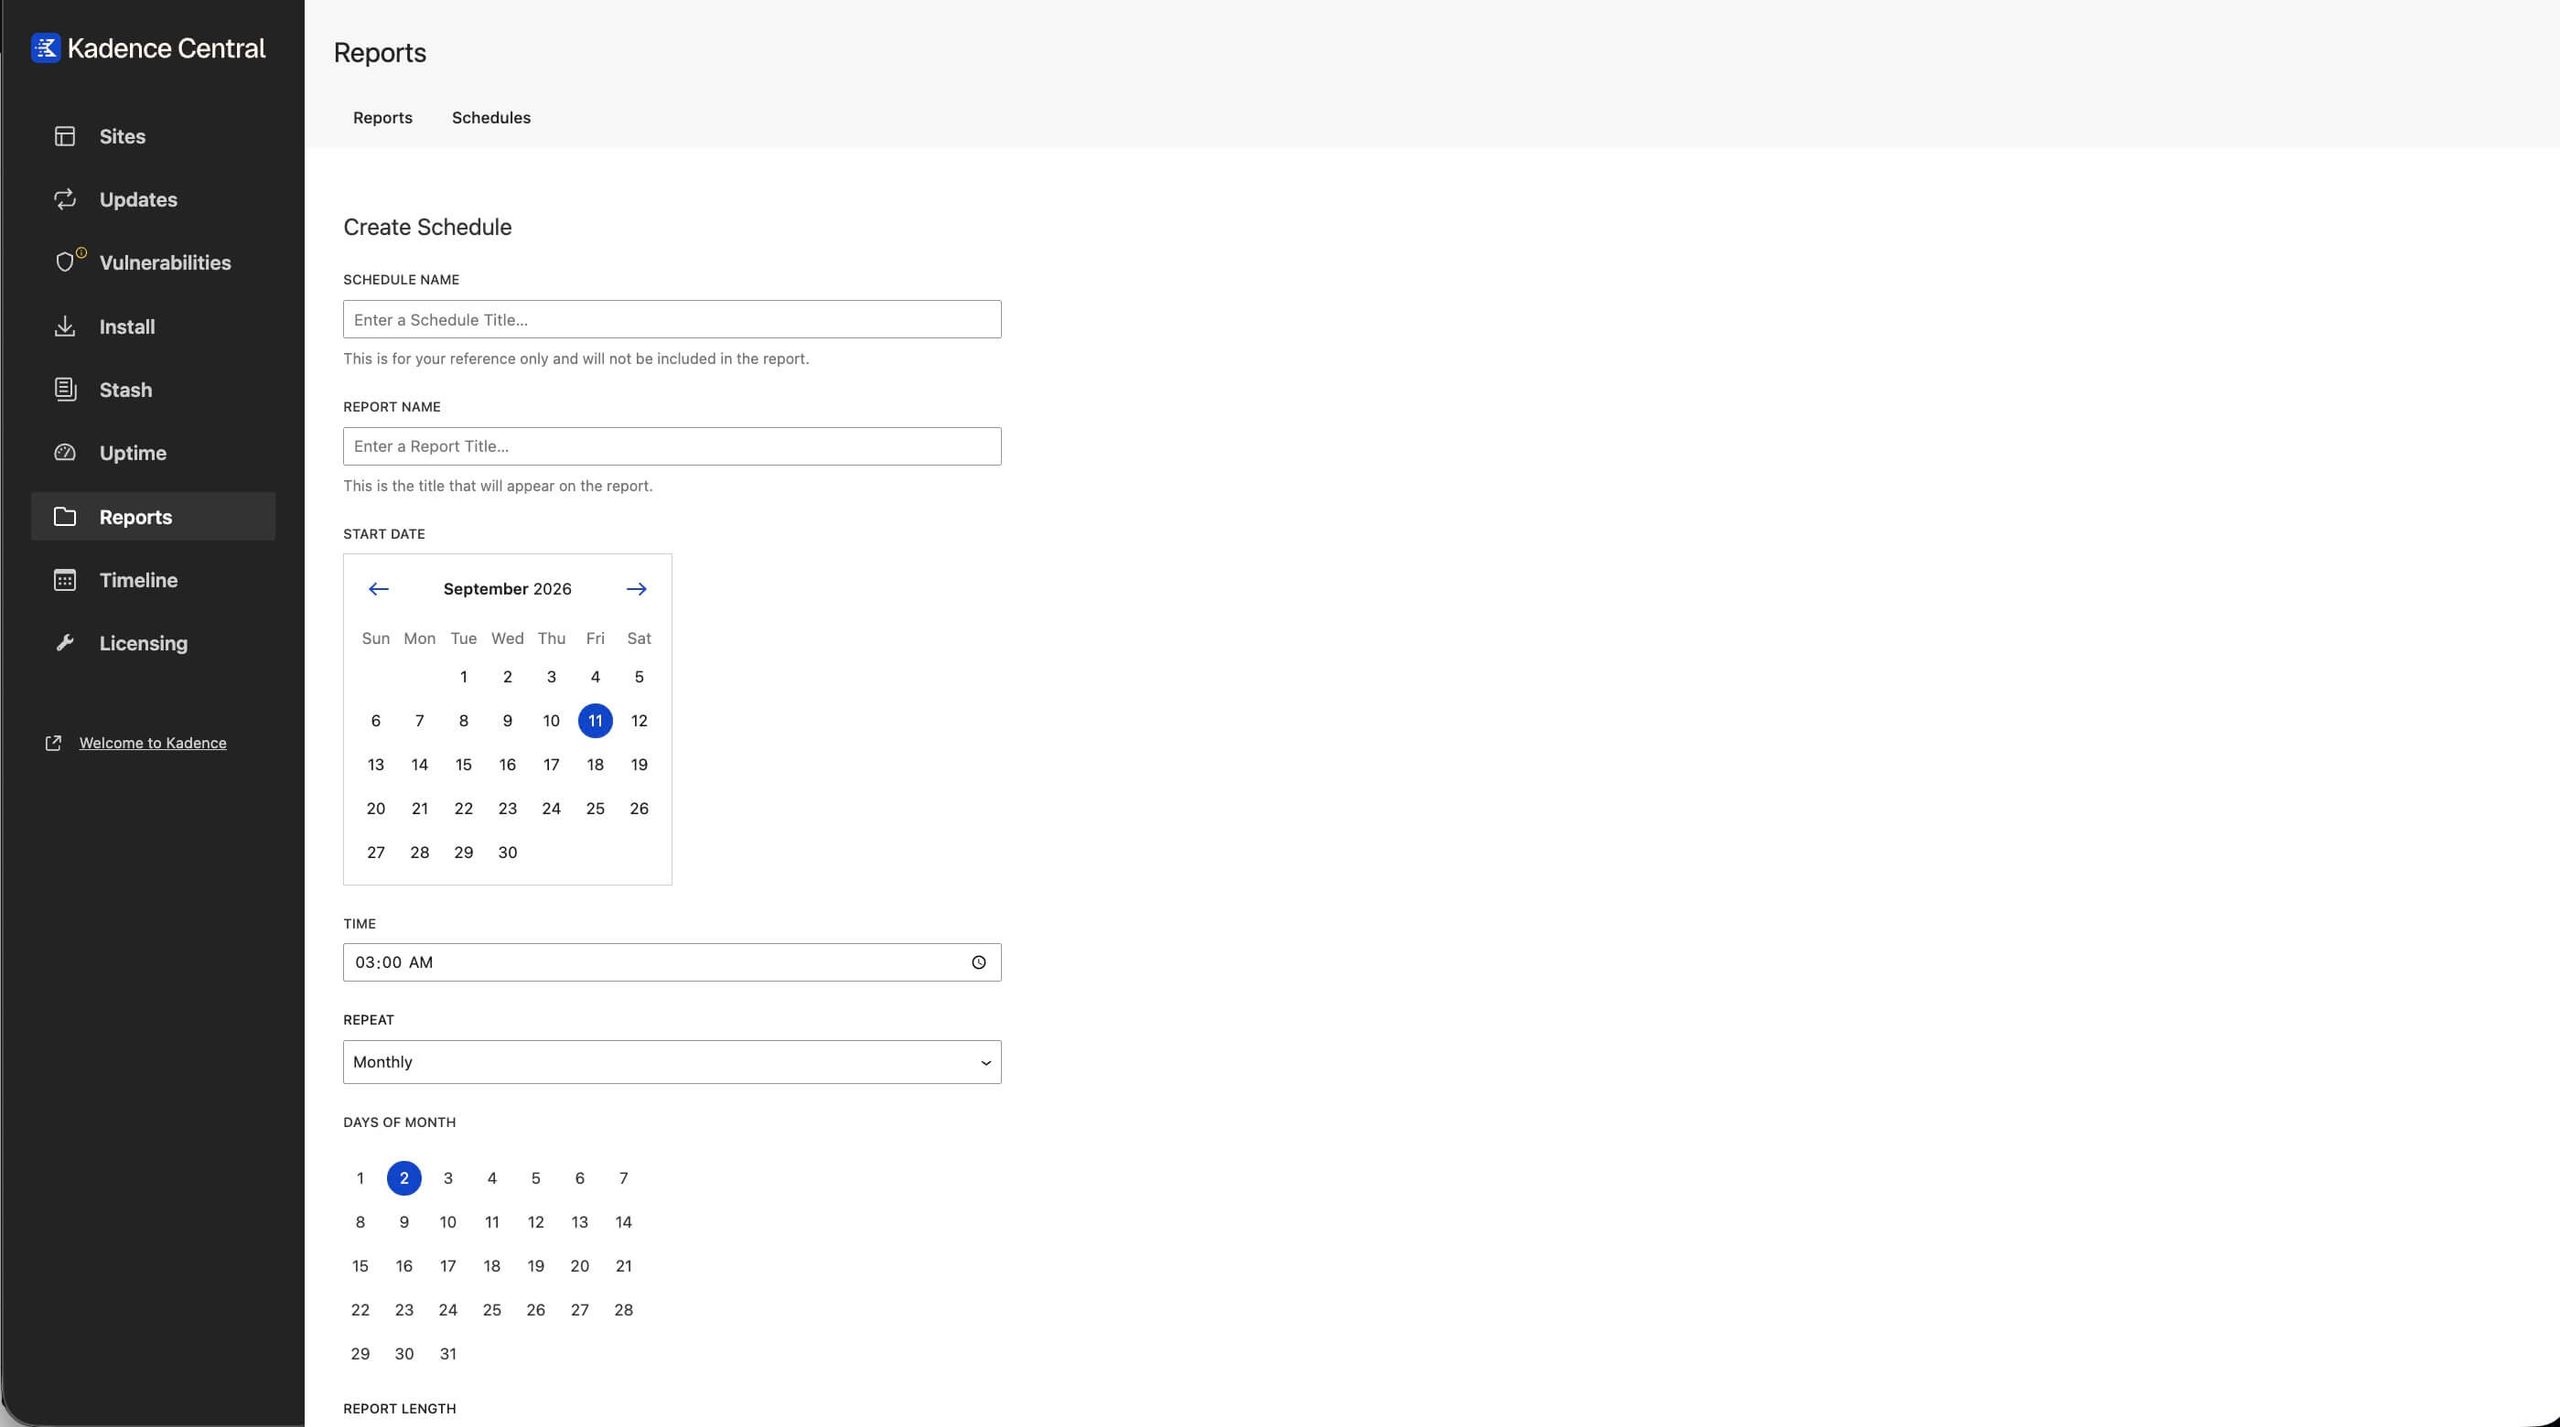
Schedule settings
Most options match manual report creation, plus:
Choose Start Date & Time
Select the Start Date when the scheduled reporting should begin and specify the Time when it will be generated.
Set Report Frequency
- Repeat: Choose how often the report should be generated – None, Daily, Weekly, Monthly, Quarterly, Semi-Annually, and Annually.
- Days of Month: If selecting Monthly, choose a specific day (1 – 31) for report generation.
- Report Length: Select the data timeframe for each report – 7 days, 14 days, Last month, Last quarter, Last 6 months, Last year.
Activate the Schedule
Click Create Schedule to finalize your schedule setup.
Customizing Reports
Kadence Central lets you brand reports so they reflect your company when shared with clients, team members, or stakeholders.
In the Kadence Central dashboard, go to Account Settings → White Label.
General Settings
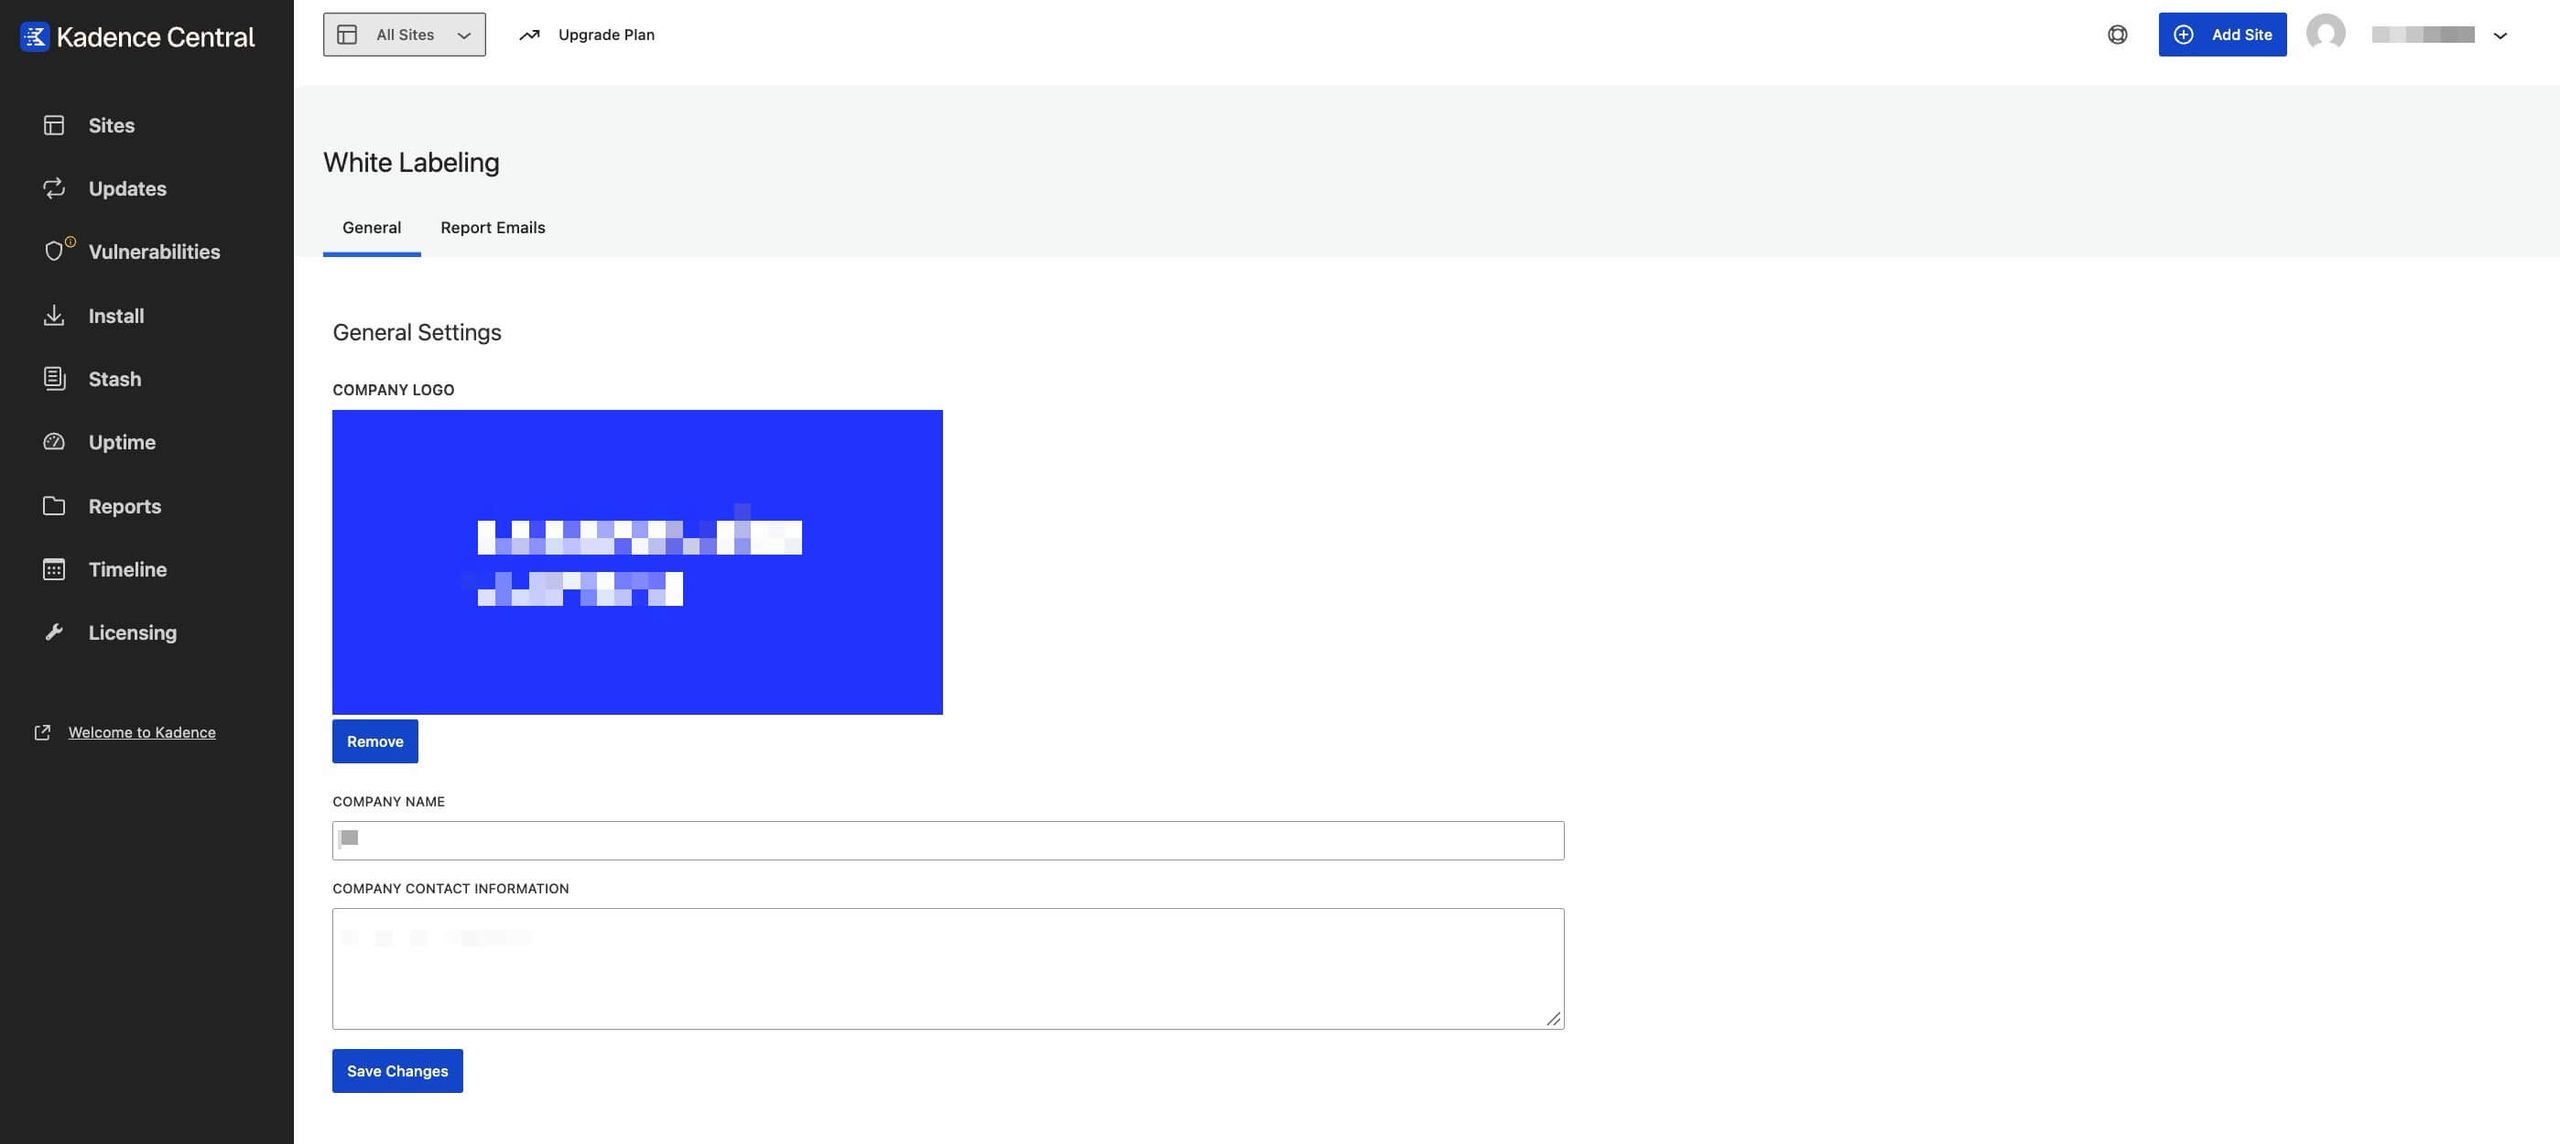
In the General tab, you can find options to enter your custom Company Logo, Company Name, and Company Contact Information.
Report Emails Settings
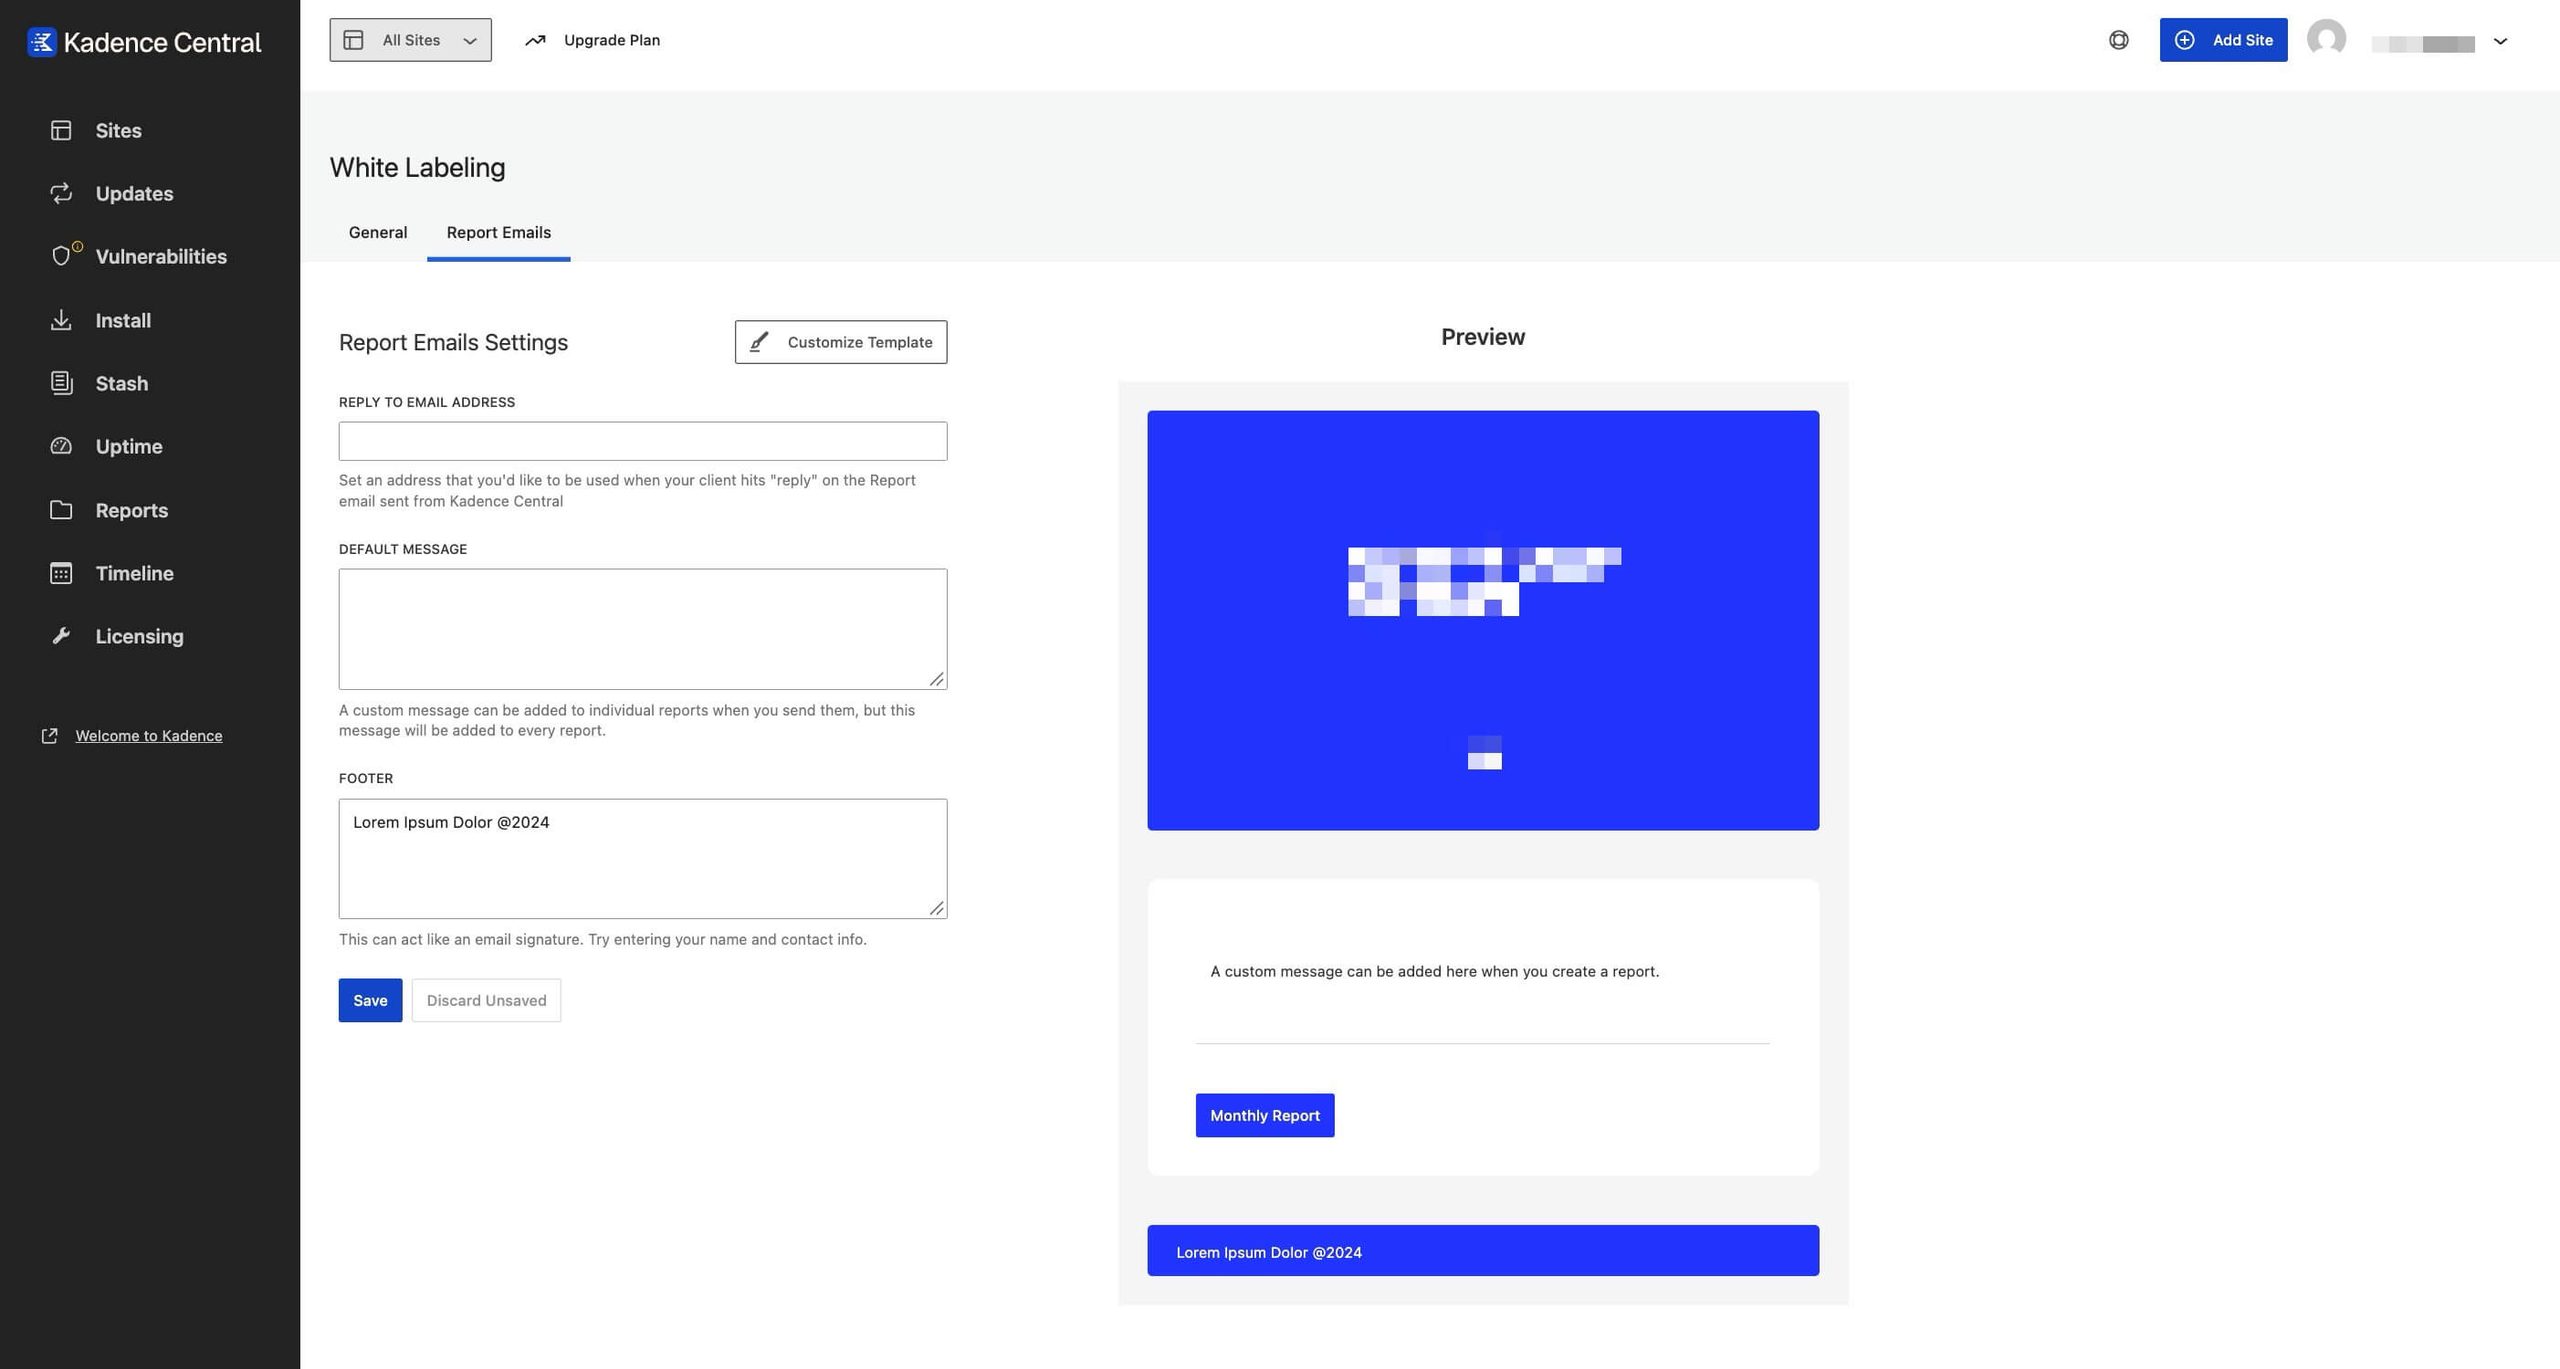
On the Report Emails tab, customize the report email template and preview how it appears in email.
See Central Account Settings for other account options such as timezone and email notifications.
Conclusion
Reports in Kadence Central simplify site management by summarizing performance and maintenance activity in a structured, easy-to-read format. By scheduling reports and customizing branding, you can keep clients, team members, and stakeholders informed with a professional appearance.
For connection or Google Analytics issues that affect report data, see Tips for troubleshooting Kadence Central.