

LearnDash
How to Configure Google Firebase for Your LearnDash App
Introduction
Google Firebase Cloud Messaging powers push notifications on Android and iOS. Integrating Firebase V1 with your LearnDash App enables real-time alerts for your members. This guide covers creating a Firebase project, enabling the API, generating service keys, registering mobile apps, and uploading config files in WordPress.
Creating a Firebase Project
- Log in to the Google Firebase Console.
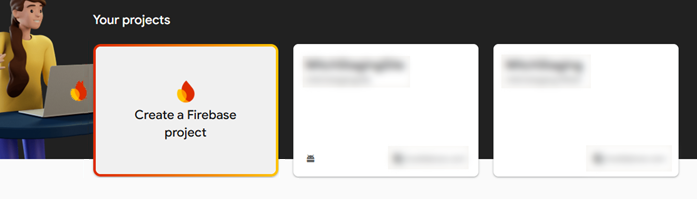
- Click Add Project, enter a name, and click Continue.
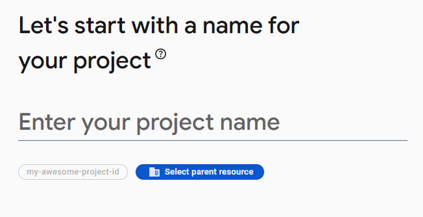
- (Optional) Enable Google Analytics, select or accept the default account, and click Create Project.
- Once setup is complete, click Continue to open your new project.
Enabling Firebase Cloud Messaging API (V1)
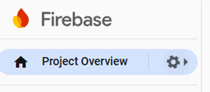
- In Firebase, click the Settings gear > Project settings.
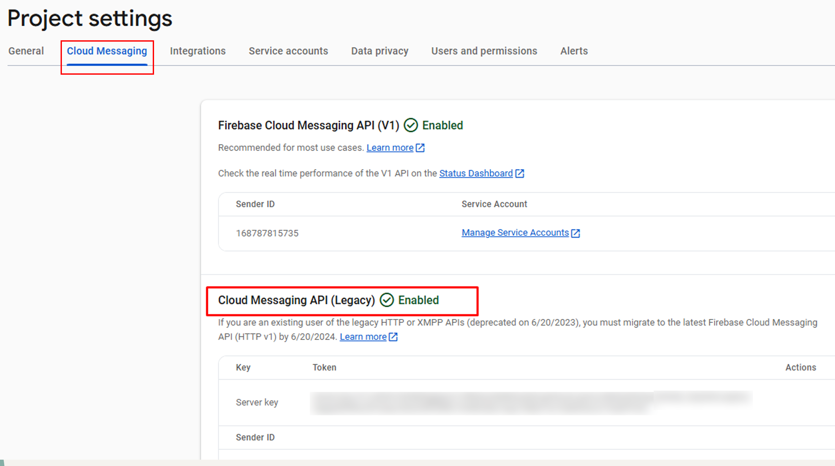
- Go to the Cloud Messaging tab.
- If Firebase Cloud Messaging API (V1) is not enabled:
- Click the ⋮ menu > Manage API in Google Cloud Console.
- Click Enable on the Cloud Messaging API page.
- Confirm the API status shows Enabled.
- Click the ⋮ menu > Manage API in Google Cloud Console.
- Go to the Cloud Messaging tab.
- If Firebase Cloud Messaging API (V1) is not enabled:
- Click the ⋮ menu > Manage API in Google Cloud Console.
- Click Enable on the Cloud Messaging API page.
- Confirm the API status shows Enabled.
- Click the ⋮ menu > Manage API in Google Cloud Console.
Generating a Firebase Service Account Key
- In Project settings > Service accounts, scroll to Firebase Admin SDK.

- Click Generate new private key, then click Generate Key in the popup.
- Save the downloaded .json file securely (it can’t be downloaded again).
Creating Firebase Apps

iOS App:
- On the Firebase dashboard, click the iOS icon.
- Enter your Bundle ID from LearnDash App > Configure > iOS Settings.
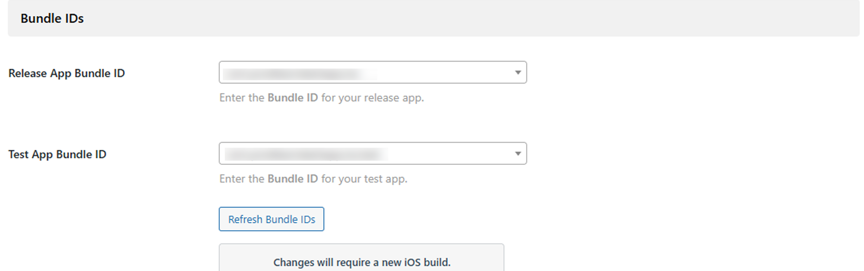
- Click Register App and download the GoogleService-Info.plist.
Android App:
- Click the Android icon.
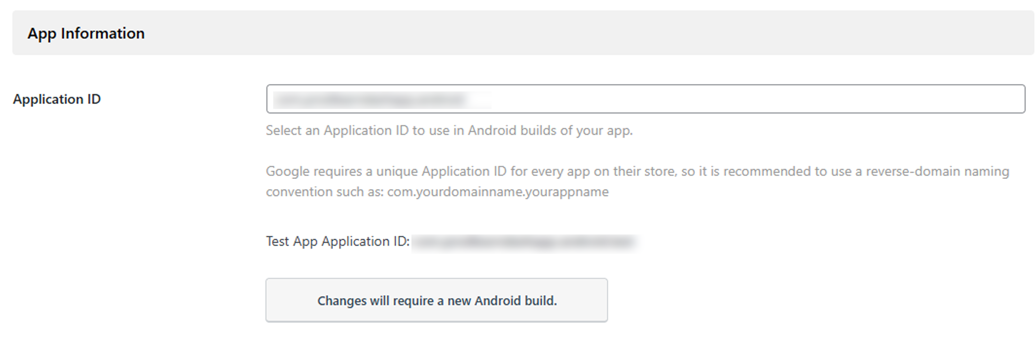
- Enter your Application ID from Learndash App > Configure > Android Settings.
- Click Register App and download google-services.json.
- Click Next through steps 2–4 and finish with Done.
Connecting Firebase to Your Learndash App
- In WordPress, go to LearnDash App > Configure > Google Firebase.
- Under Firebase Cloud Messaging API V1, click Upload to add the .json service account file.
- Upload your platform-specific files:
- GoogleService-Info.plist for iOS
- google-services.json for Android
- (Optional) Test app config files
- GoogleService-Info.plist for iOS
- Click Save Settings.
Note: The V1 API supersedes the Legacy Cloud Messaging API.
Troubleshooting and FAQs
Q: Push notifications aren’t working.
A: Confirm you uploaded the correct service account and config files. Rebuild the app to apply V1 settings.
Q: “Missing API key” error in Firebase tab.
A: Ensure the V1 API is enabled in Google Cloud. Re-upload the JSON file and refresh.
Q: How do I regenerate my service key?
A: Delete the old key under Service Accounts, then generate and upload a new one.
Q: Do test builds need separate config files?
A: Yes. Upload both release and test config files before saving settings.