

LearnDash
Managing Legacy Shortcode Certificates in LearnDash
This article explains how to manage existing certificates created using the legacy shortcode method in LearnDash.
LearnDash includes a drag-and-drop Certificate Builder for creating certificates. Navigating to LearnDash LMS > Certificates and selecting Add New opens the drag-and-drop Certificate Builder.
For instructions on creating and managing certificates with the new builder, see Creating LearnDash Certificates with the Drag-and-Drop Builder.
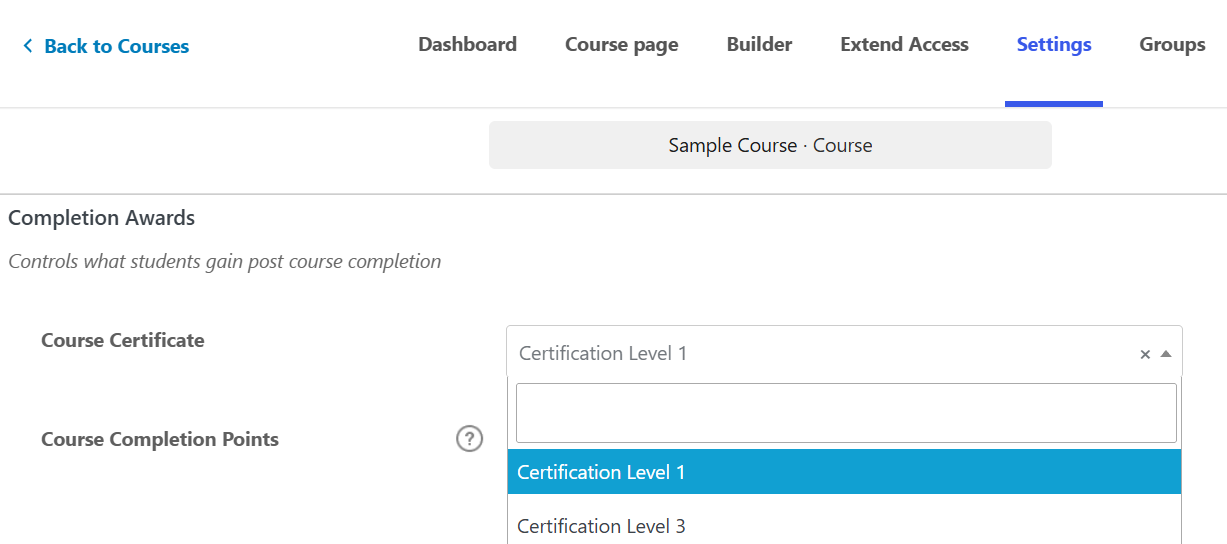
For instructions on associating certificates with a course, group, or quiz, see the following documentation:
Managing Legacy Shortcode Certificates
Existing certificates created using the legacy shortcode method can still be edited using the WordPress Classic Editor.
Important: The instructions in this article apply to legacy shortcode certificates. They do not describe the process for creating a new certificate with the drag-and-drop Certificate Builder.
Opening an Existing Legacy Certificate
- Navigate to LearnDash LMS > Certificates.
- Locate the existing legacy certificate you want to edit.
- Open the certificate.
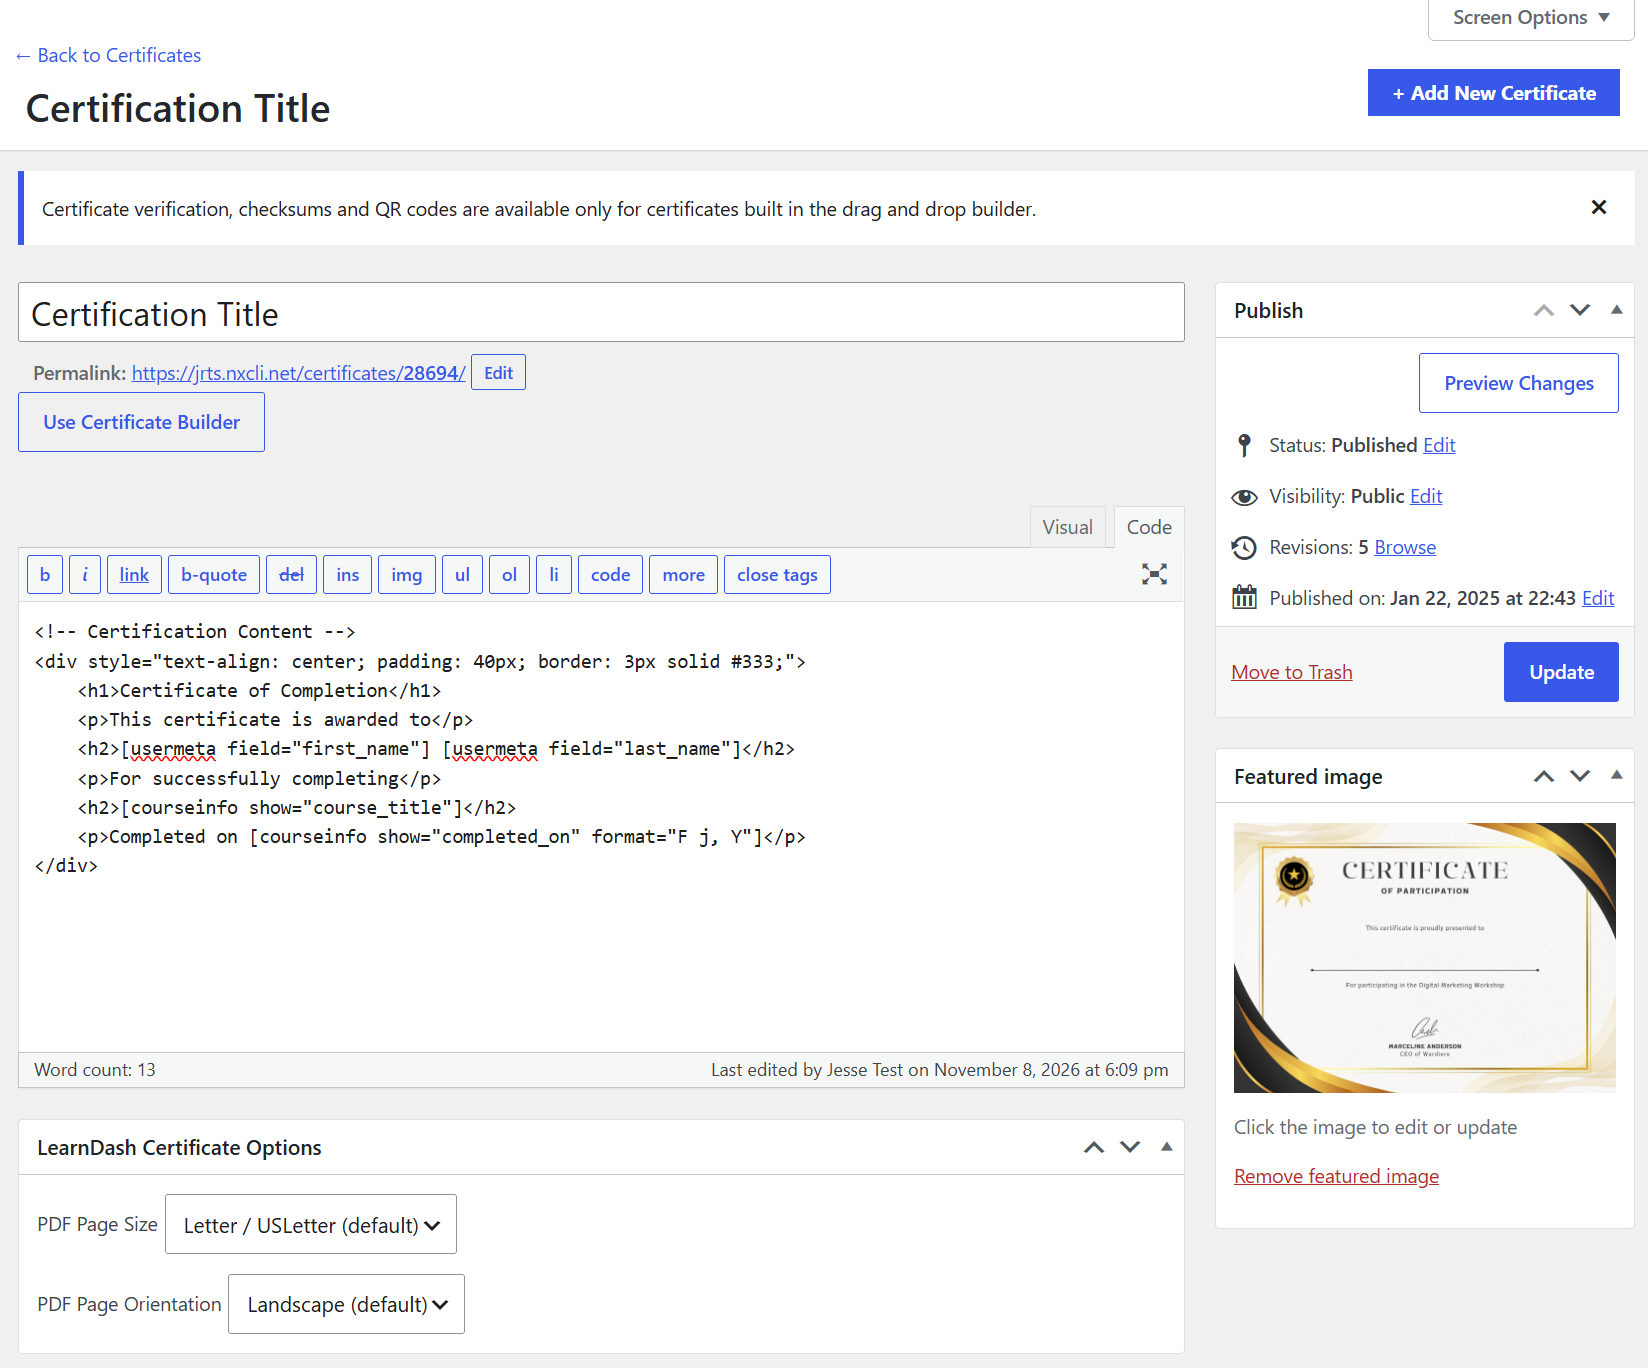
Edit the certificate’s title, featured image, content, and styling using the Classic Editor.
Title
The certificate title is only for internal use. Learners will not see this title, but it appears in dropdown menus when applying it to a course, group, or quiz. Name it clearly for identification.
Featured Image
Adding a featured image is how you apply a design or style to a legacy certificate.
Important:
- Use .jpg images no larger than 1 MB to minimize loading times.
- The image size should match the page size and orientation (see Legacy Certificate Options below). For example, when using an 11 × 8.5-inch US Letter size in landscape orientation, the image dimensions must match.
- For clear printing quality, use an image with a resolution of 300 dpi.
- Text included in the image appears on all certificates for all users. Text contained within an image is static and cannot be dynamically customized for each user.
To add a featured image:
- Open the Edit Certificate page for the existing legacy shortcode-based certificate.
- On the right side of the screen, locate the Featured Image section.
- Click Set featured image.
- Choose an image from your Media Library, or upload a new one.
- Click Set featured image to apply it to the certificate.
Known issue: Some image optimization plugins can cause issues with certificate images, especially the SG Optimizer plugin from SiteGround. If your images are distorted or contain large areas of black, disable image optimization for the images you’re using for certificates.
How to Create an Image
Images can be created using graphics software, designed by a professional, or selected from a graphics library. When using graphics library images, ensure licensing allows for use.
Design platforms and resources include:
- Canva allows you to use pre-made templates and customize them. Some upgrades are available at an additional cost.
- Envato Elements is a premium graphics library with pre-made certificate templates.
- Creative Market is another premium marketplace where you can find certificate templates and graphics to customize.
- Adobe Creative Cloud includes design applications such as Photoshop, Illustrator, and InDesign. A premium subscription is required.
Certificate Content and Shortcodes
Certificate content primarily consists of dynamic fields generated for each individual user awarded a certificate, such as:
- User’s name
- Course title
- Date of completion
These dynamic fields are inserted using LearnDash shortcodes.
Refer to the Certificate Shortcodes documentation for the complete list of available certificate shortcodes, parameters, and examples.
HTML and CSS can also be added within the content area to format the certificate’s overall layout, spacing, sizing, and design.
Certificate Custom Styles (CSS)
Custom CSS stylesheets can be added to apply globally to legacy certificates:
- Navigate to LearnDash LMS > Certificates.
- Click the Settings tab.
- Scroll down to the Custom Styles (CSS) metabox.
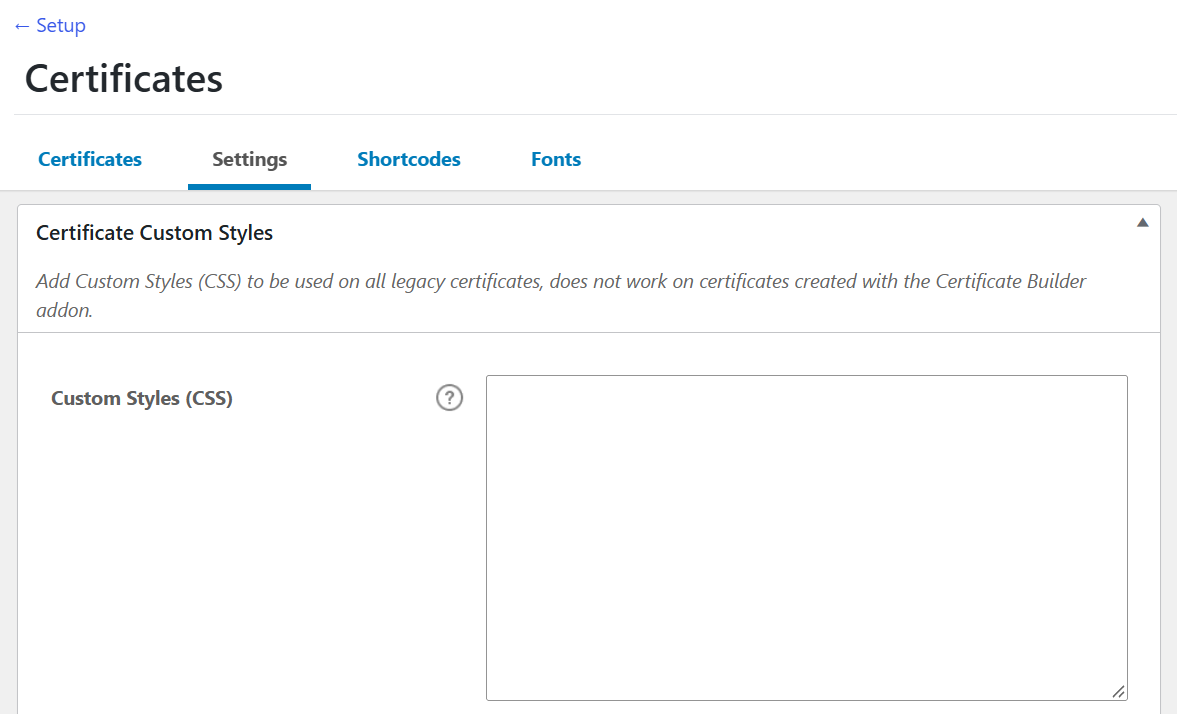
Adding custom CSS styles avoids re-styling individual elements on each certificate. Classes and IDs assigned to elements (such as paragraphs, shapes, and headings) will apply globally across all legacy certificates to maintain brand consistency.
Note: Certificate Custom Styles (CSS) is only applicable to legacy certificates created using the shortcode method. These styles will not be applied to certificates created with the new drag-and-drop Certificate Builder.
Vertical Spacing
Line height properties can be used to control vertical spacing and position content (such as placing the course title at the top, the user’s name in the middle, and the completion date at the bottom).
To insert blank vertical space, use inline CSS:
<p style="line-height:20px;"></p>This snippet inserts 20 pixels of vertical space. Because final PDF rendering measures in physical page units rather than pixels, adjust this value during testing to achieve the desired layout. Multiple spacer tags can be placed throughout the certificate content.
Horizontal Spacing (Indentation)
Horizontal positioning can be managed using standard CSS attributes.
To center text horizontally across the certificate, use text-align:center;. Example for centering a first name field:
<p style="text-align:center;">[usermeta field="first_name"]</p>By default, text aligns to the left edge of the certificate (or to the right edge for RTL languages).
To indent an element, use the text-indent property. Example for adjusting the completion date’s vertical and horizontal placement:
<p style="line-height:150px;"></p>
<p style="text-indent:200px;">[courseinfo show="completed_on" format="F j, Y"]</p>
Adjust pixel values to match the background image layout.
Font Size
Font sizes can be set on any text element. Example for setting the user’s full name to 30 pixels, followed by 10 pixels of vertical space, and the course title to 20 pixels:
<p style="font-size:30px;">[usermeta field="first_name"] [usermeta field="last_name"]</p>
<p style="line-height:10px;"></p>
<p style="font-size:20px;">[courseinfo show="course_title"]</p>
Font Family
System font availability varies depending on the device rendering the document. Standard web-safe font families, such as serif and sans-serif, ensure consistent rendering across computers.
Example using a generic serif font:
<p style="font-family:serif;"></p>Text Color
Text colors can be updated using hex codes or color names. For dark background images, set text to white using the color property:
<p style="color:#ffffff;"></p>Multiple CSS properties can be combined within a single tag. Example showing indentation, font size, and color adjustments:
<p style="text-indent:20px;font-size:30px;color:red;">[usermeta field="first_name"] [usermeta field="last_name"]</p>Legacy Certificate Options
The following configuration options apply to legacy shortcode certificates.
PDF Page Size
- US Letter (default): 8.5 × 11 inches
- A4: 8.3 × 11.7 inches
For certificates built in the drag-and-drop editor, configure the Paper size settings directly in the Certificate Builder.
PDF Page Orientation
- Landscape (default): Width is longer than height.
- Portrait: Height is longer than width.
For certificates built in the drag-and-drop editor, configure orientation settings inside the Certificate Builder.
Certificate File Format
LearnDash generates certificates as downloadable .PDF files. Depending on browser settings, clicking a certificate link opens the PDF directly in the browser tab or downloads it to the device.
Previewing a Legacy Shortcode Certificate
To preview a legacy shortcode certificate before assigning it to a course or quiz, set up a test quiz or course:
- Publish the completed certificate.
- Navigate to LearnDash LMS > Quizzes.
- Select Add New.
- Enter a quiz title.
- On the Settings tab, select the target certificate under Quiz Certificate.
- Add a single-choice question with a known correct answer.
- Publish the quiz.
- Open the quiz in a new browser window.
- Complete the quiz and click Finish Quiz.
- Select Print Your Certificate to open the preview in a new tab.
Tip: Keep the preview tab open while making adjustments in the editor. Refreshing the preview tab updates the rendering with the latest saved changes. Remove temporary test quizzes or courses after testing completes.
For drag-and-drop certificates: Use the built-in Preview and Test PDF features directly within the Certificate Builder without creating test courses or quizzes.
Re-downloading Your Certificates
Learners can re-download earned certificates by visiting the respective course or quiz page. Upon viewing completed requirements, a notification displays with a link to view or download the certificate PDF.
Certificates are also accessible via user profiles that include the LearnDash Profile block or the [ld_profile] shortcode.